


CLOTH DOLL DESIGN: Create yours!
Looking for a creative outlet? Consider doll making, a sewing hobby that allows you to design your unique world of little friends.
Have fun with this!
START WITH A VISION
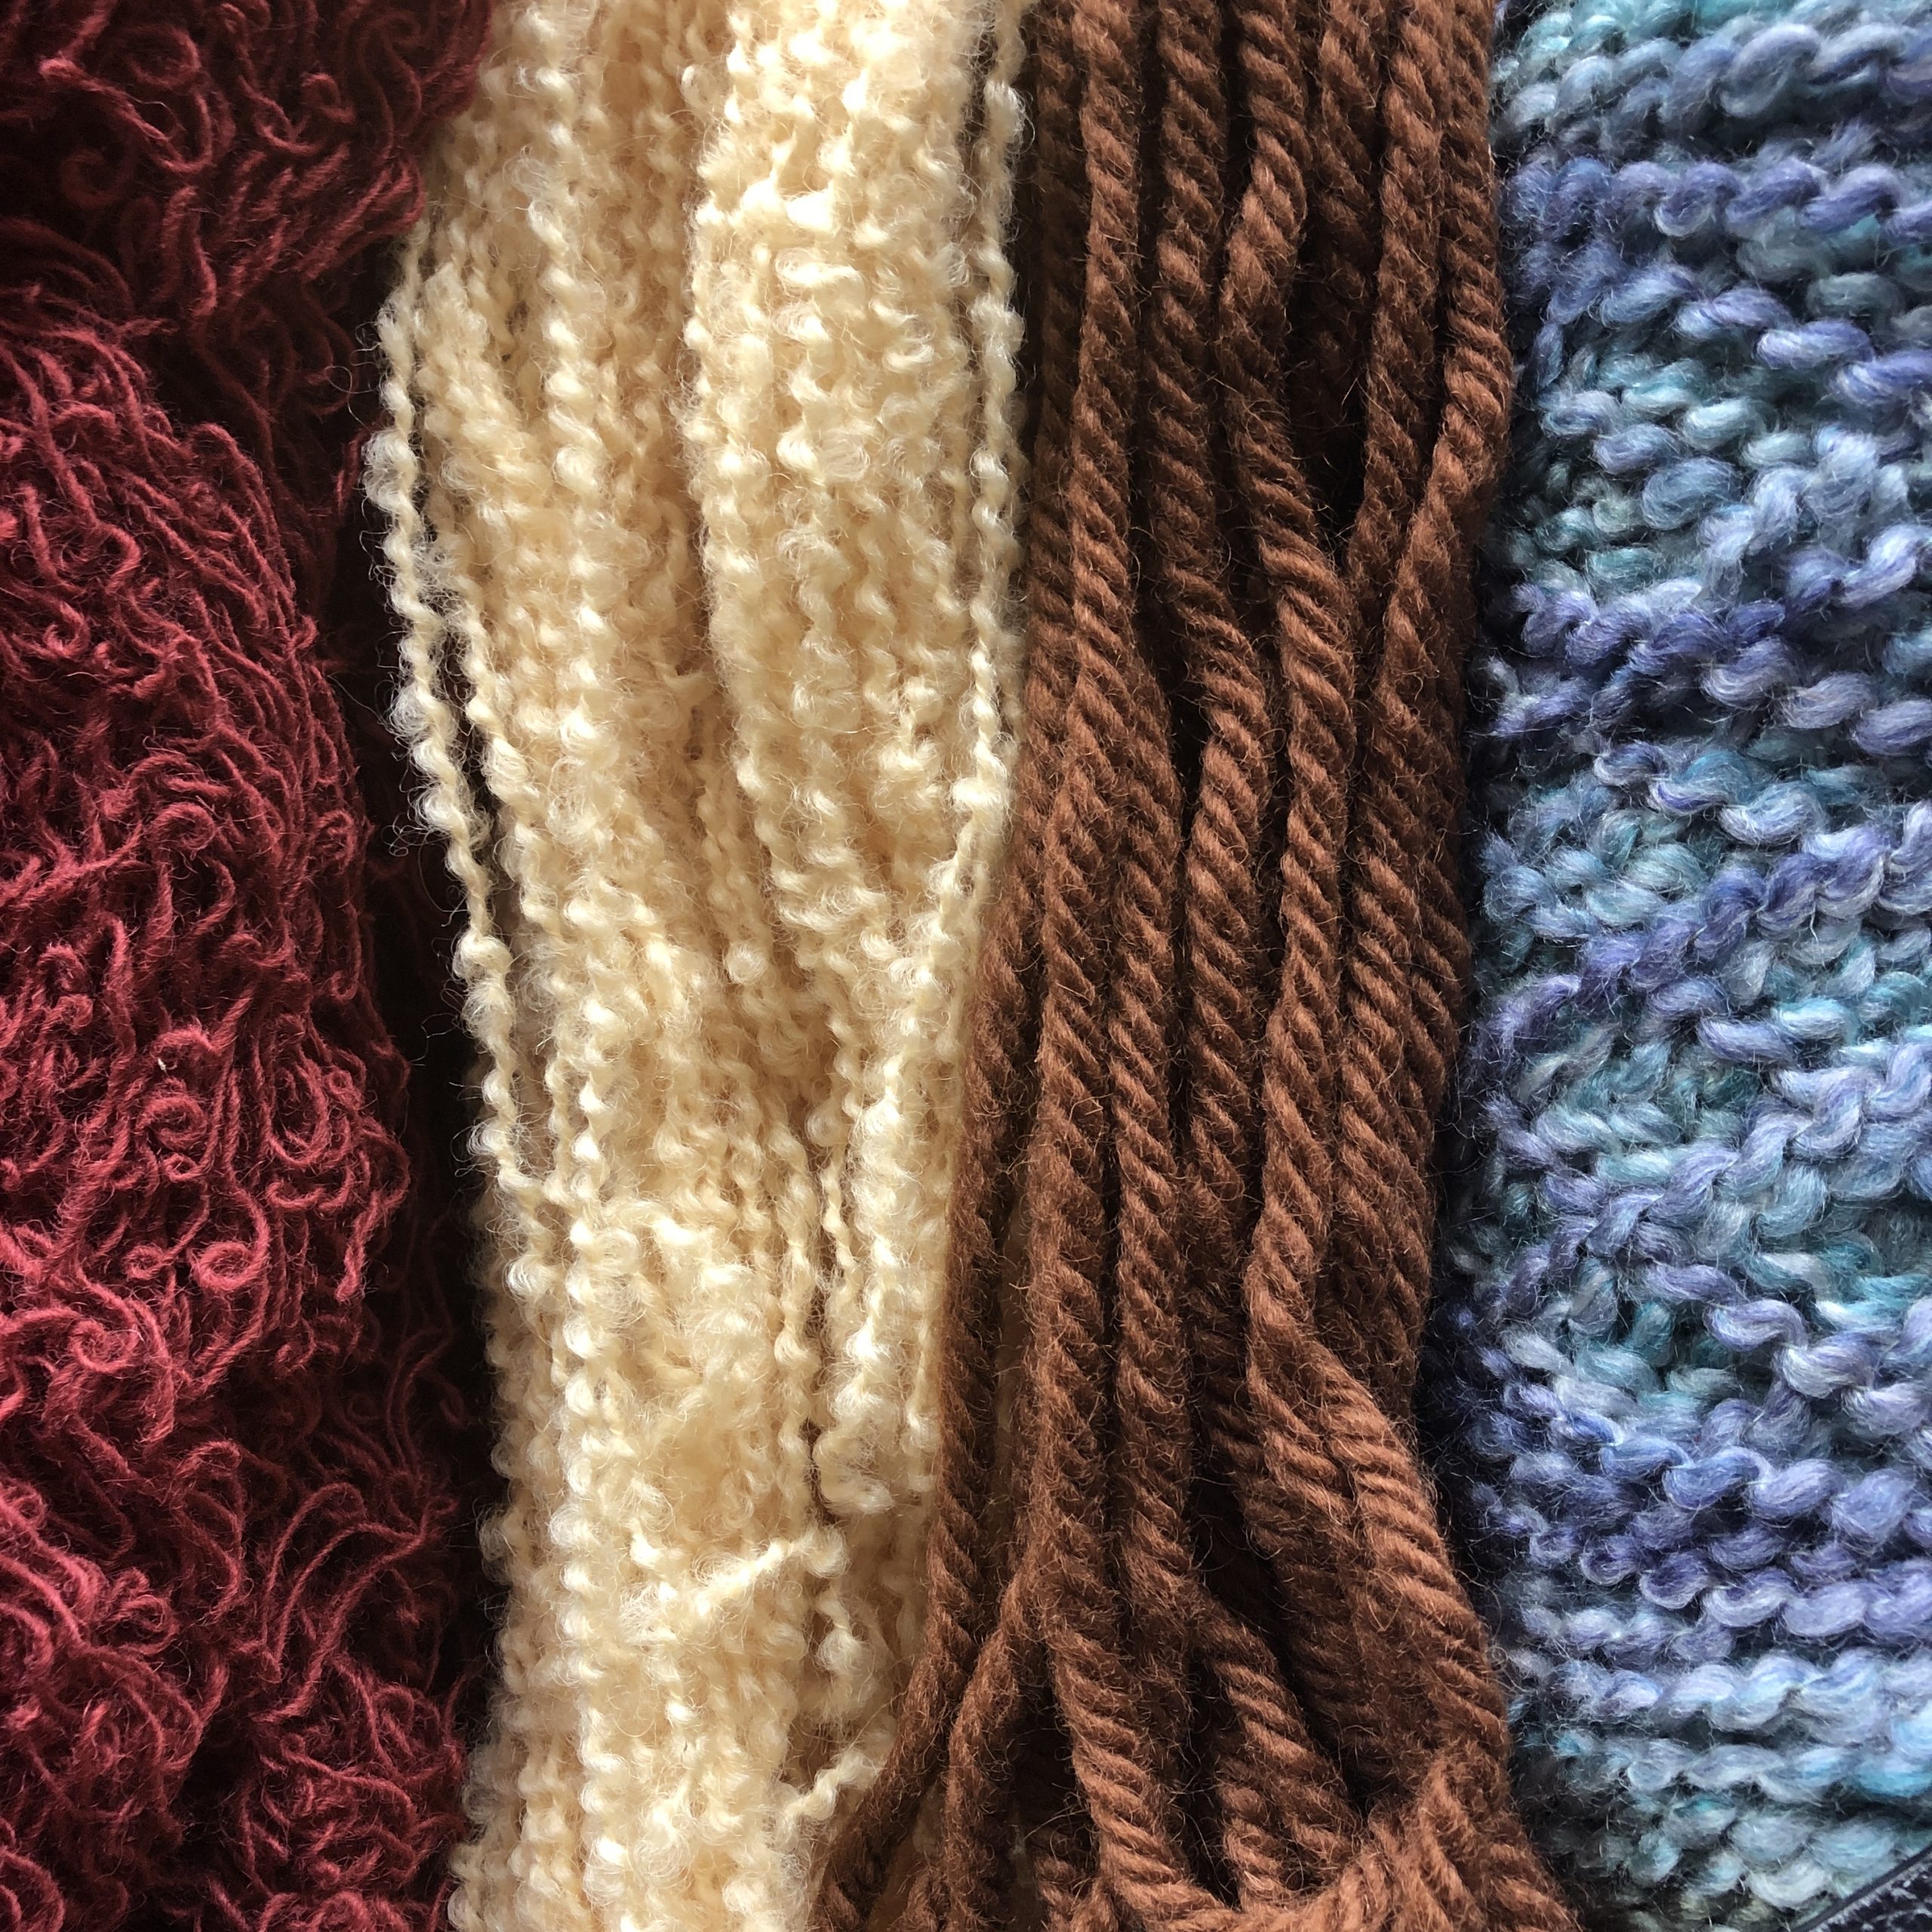
When creating a doll, it is helpful to have a vision for a character or theme. To start a vision board, collect favorite references of cloth dolls, and childrens clothing. Collect swatches of fabrics, yarn, buttons, and trims. Once you start this process, most probably you will come up with many ideas…no problem, make many dolls! Check out Pinterest for a wealth of ideas. Be traditional or eclectic, express yourself! .
DOLL BODIES
PAPER PATTERNS
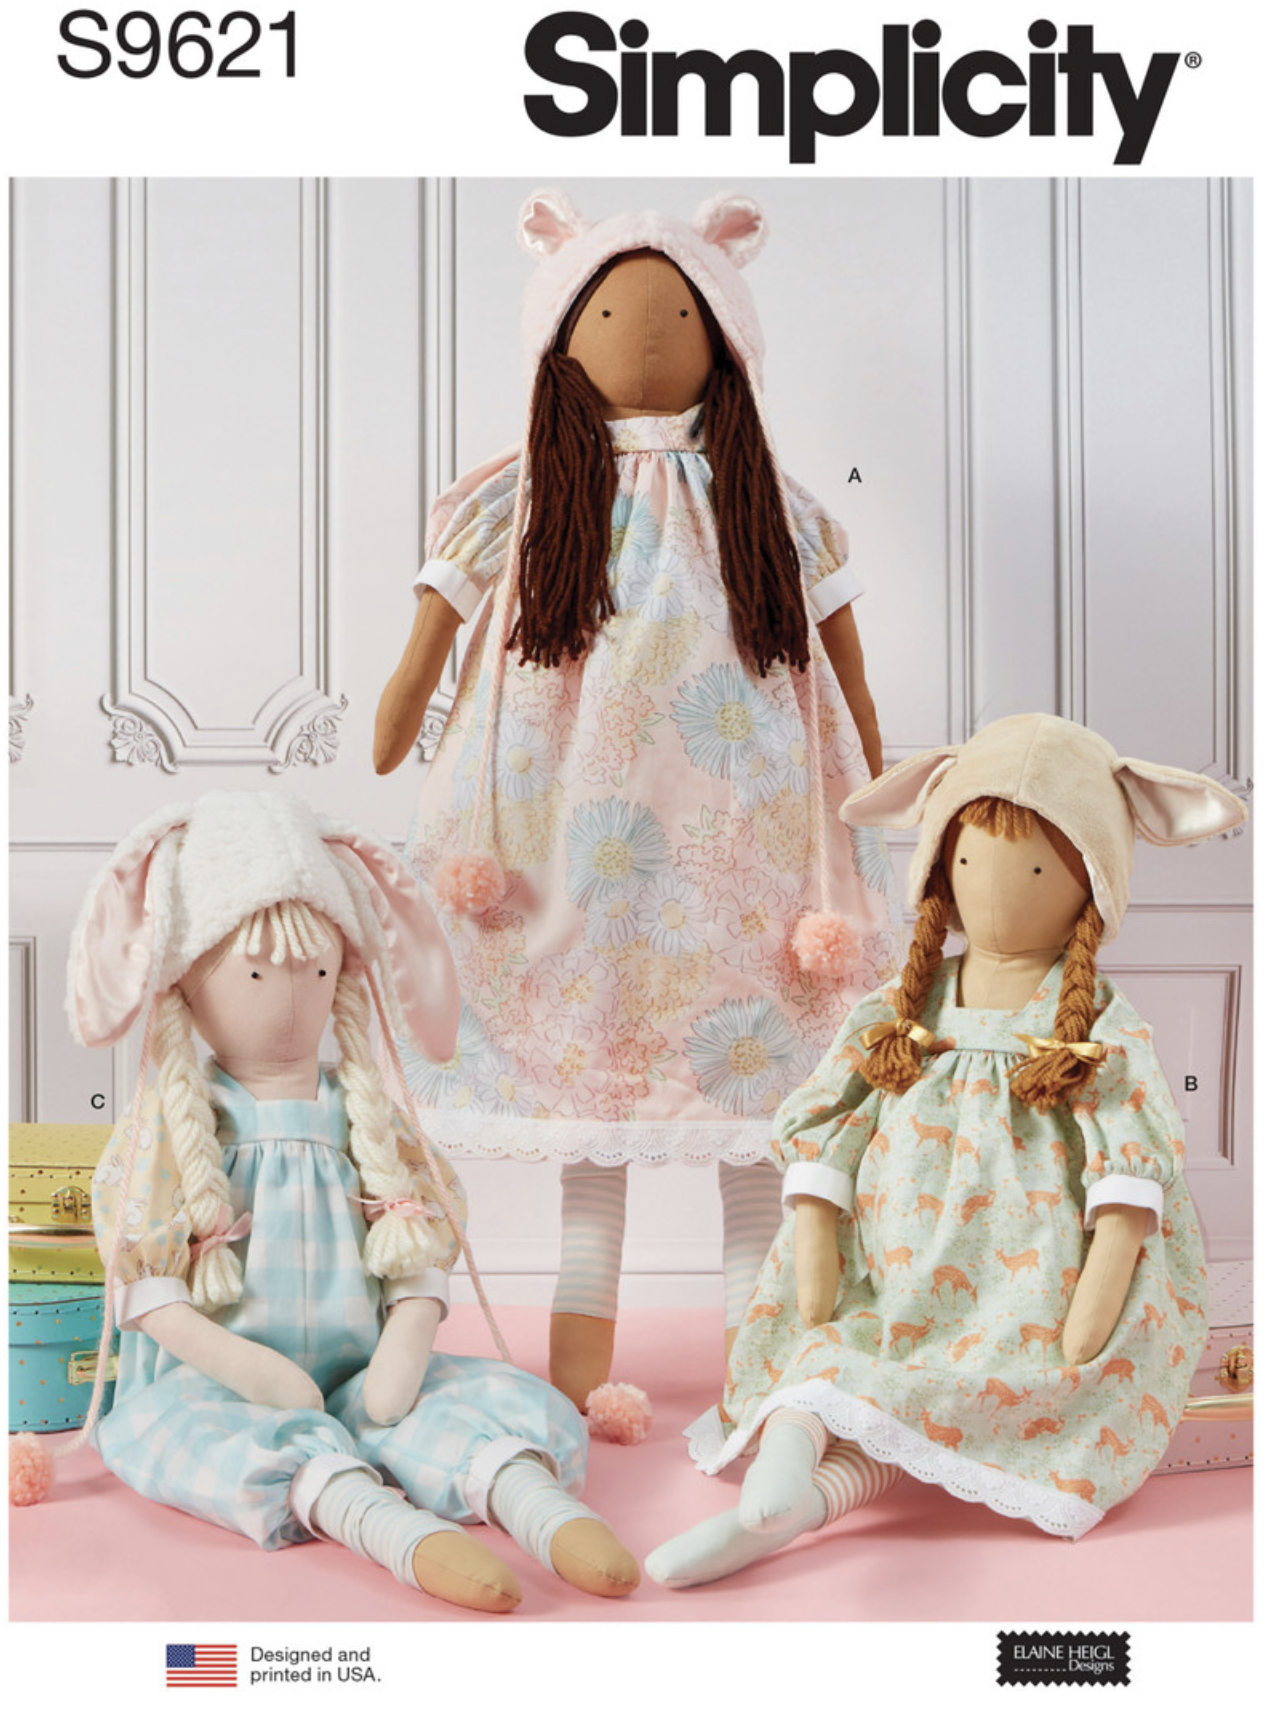
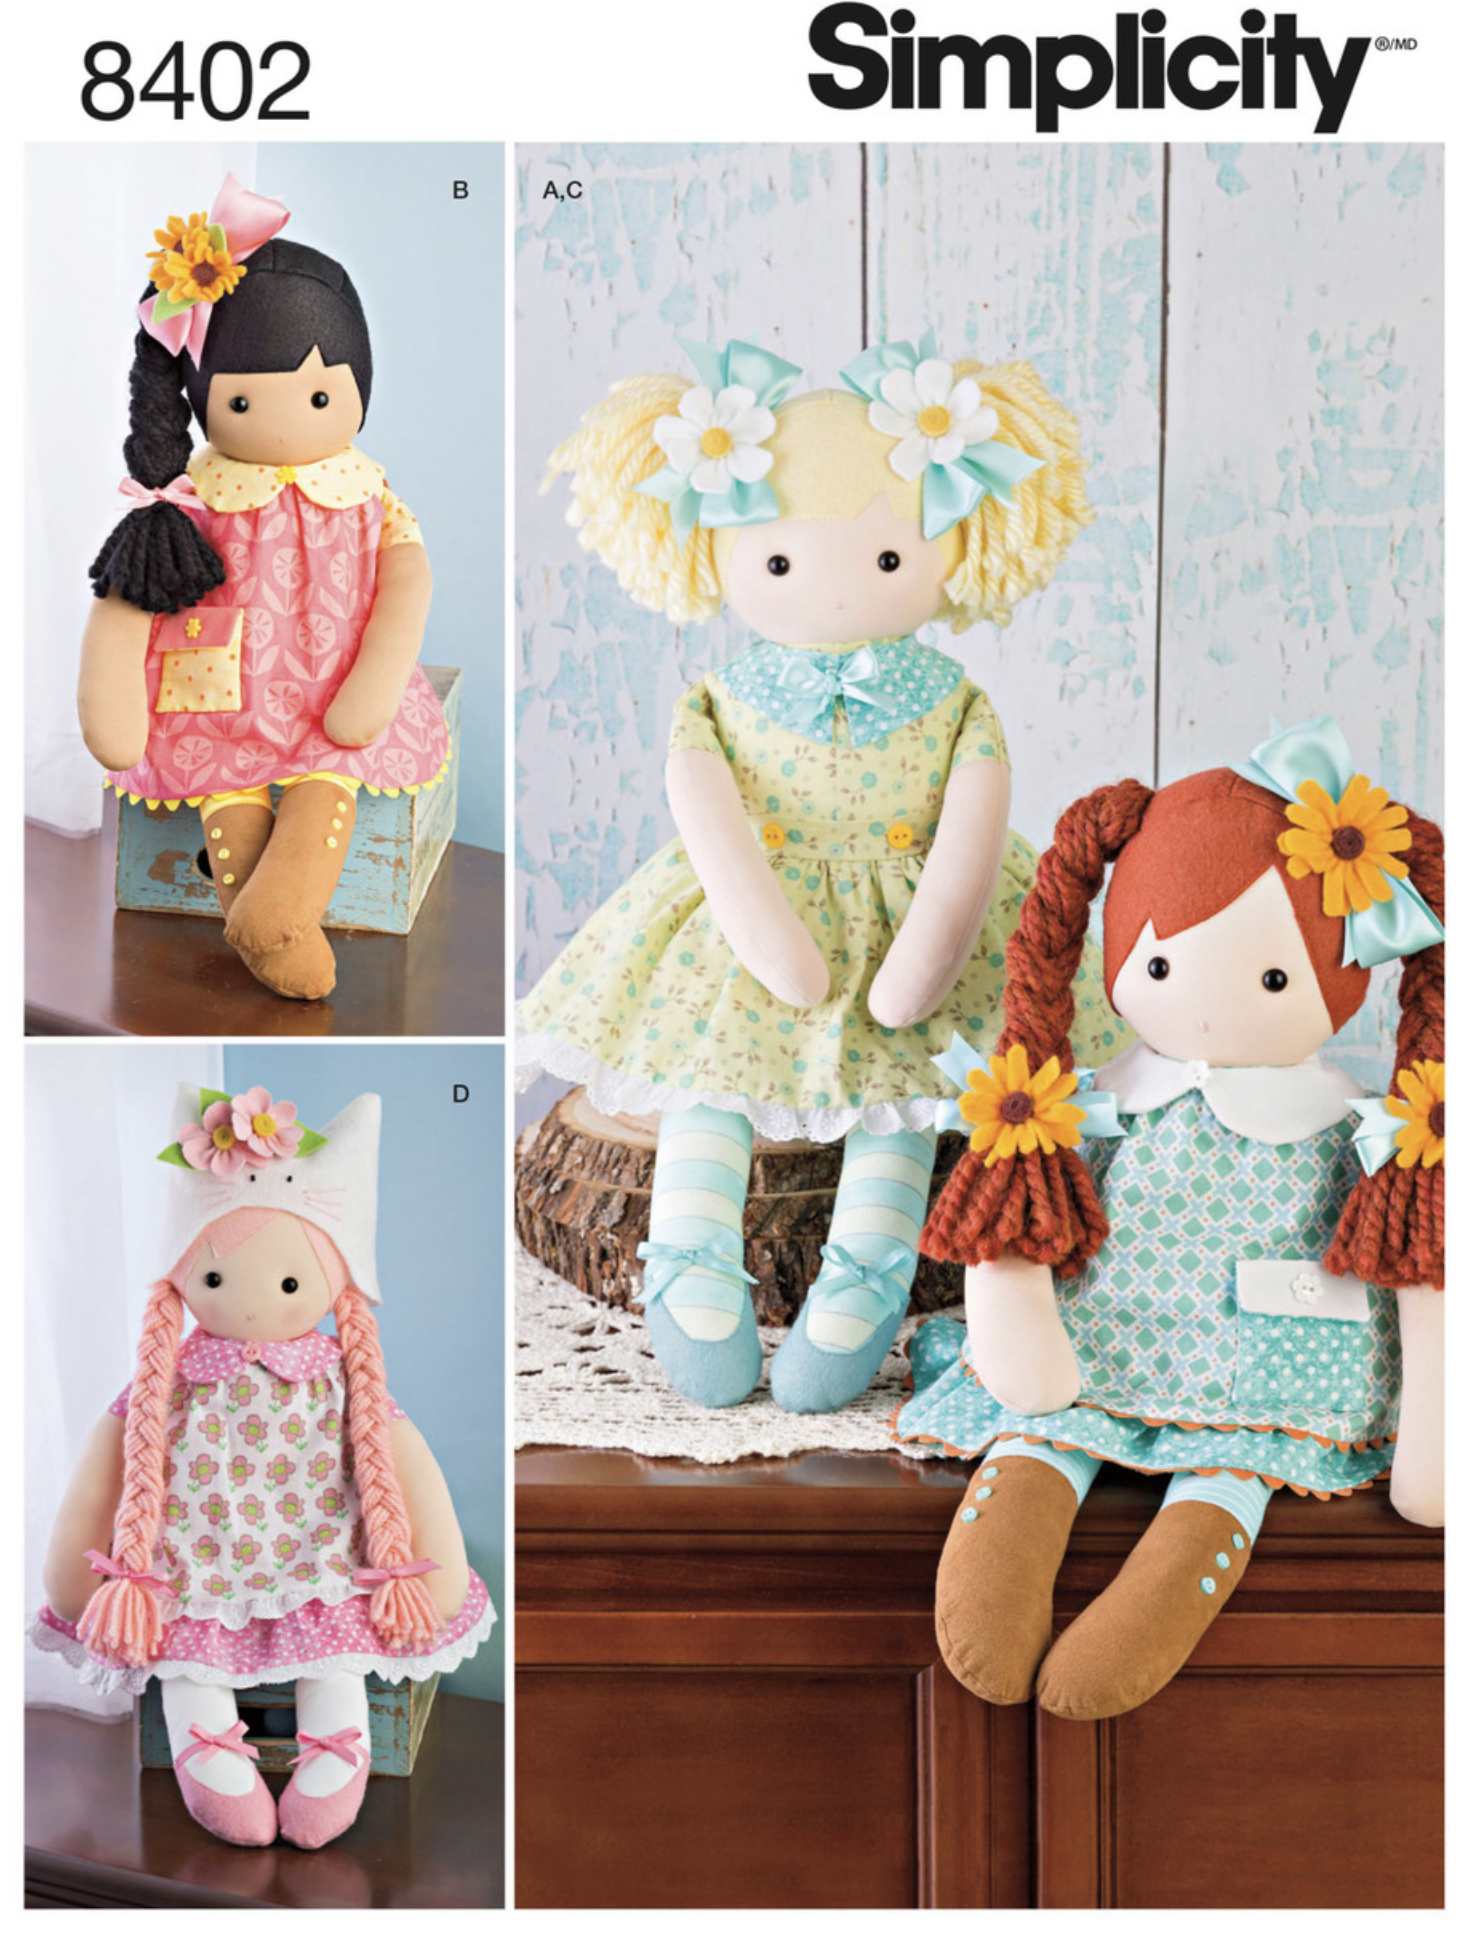
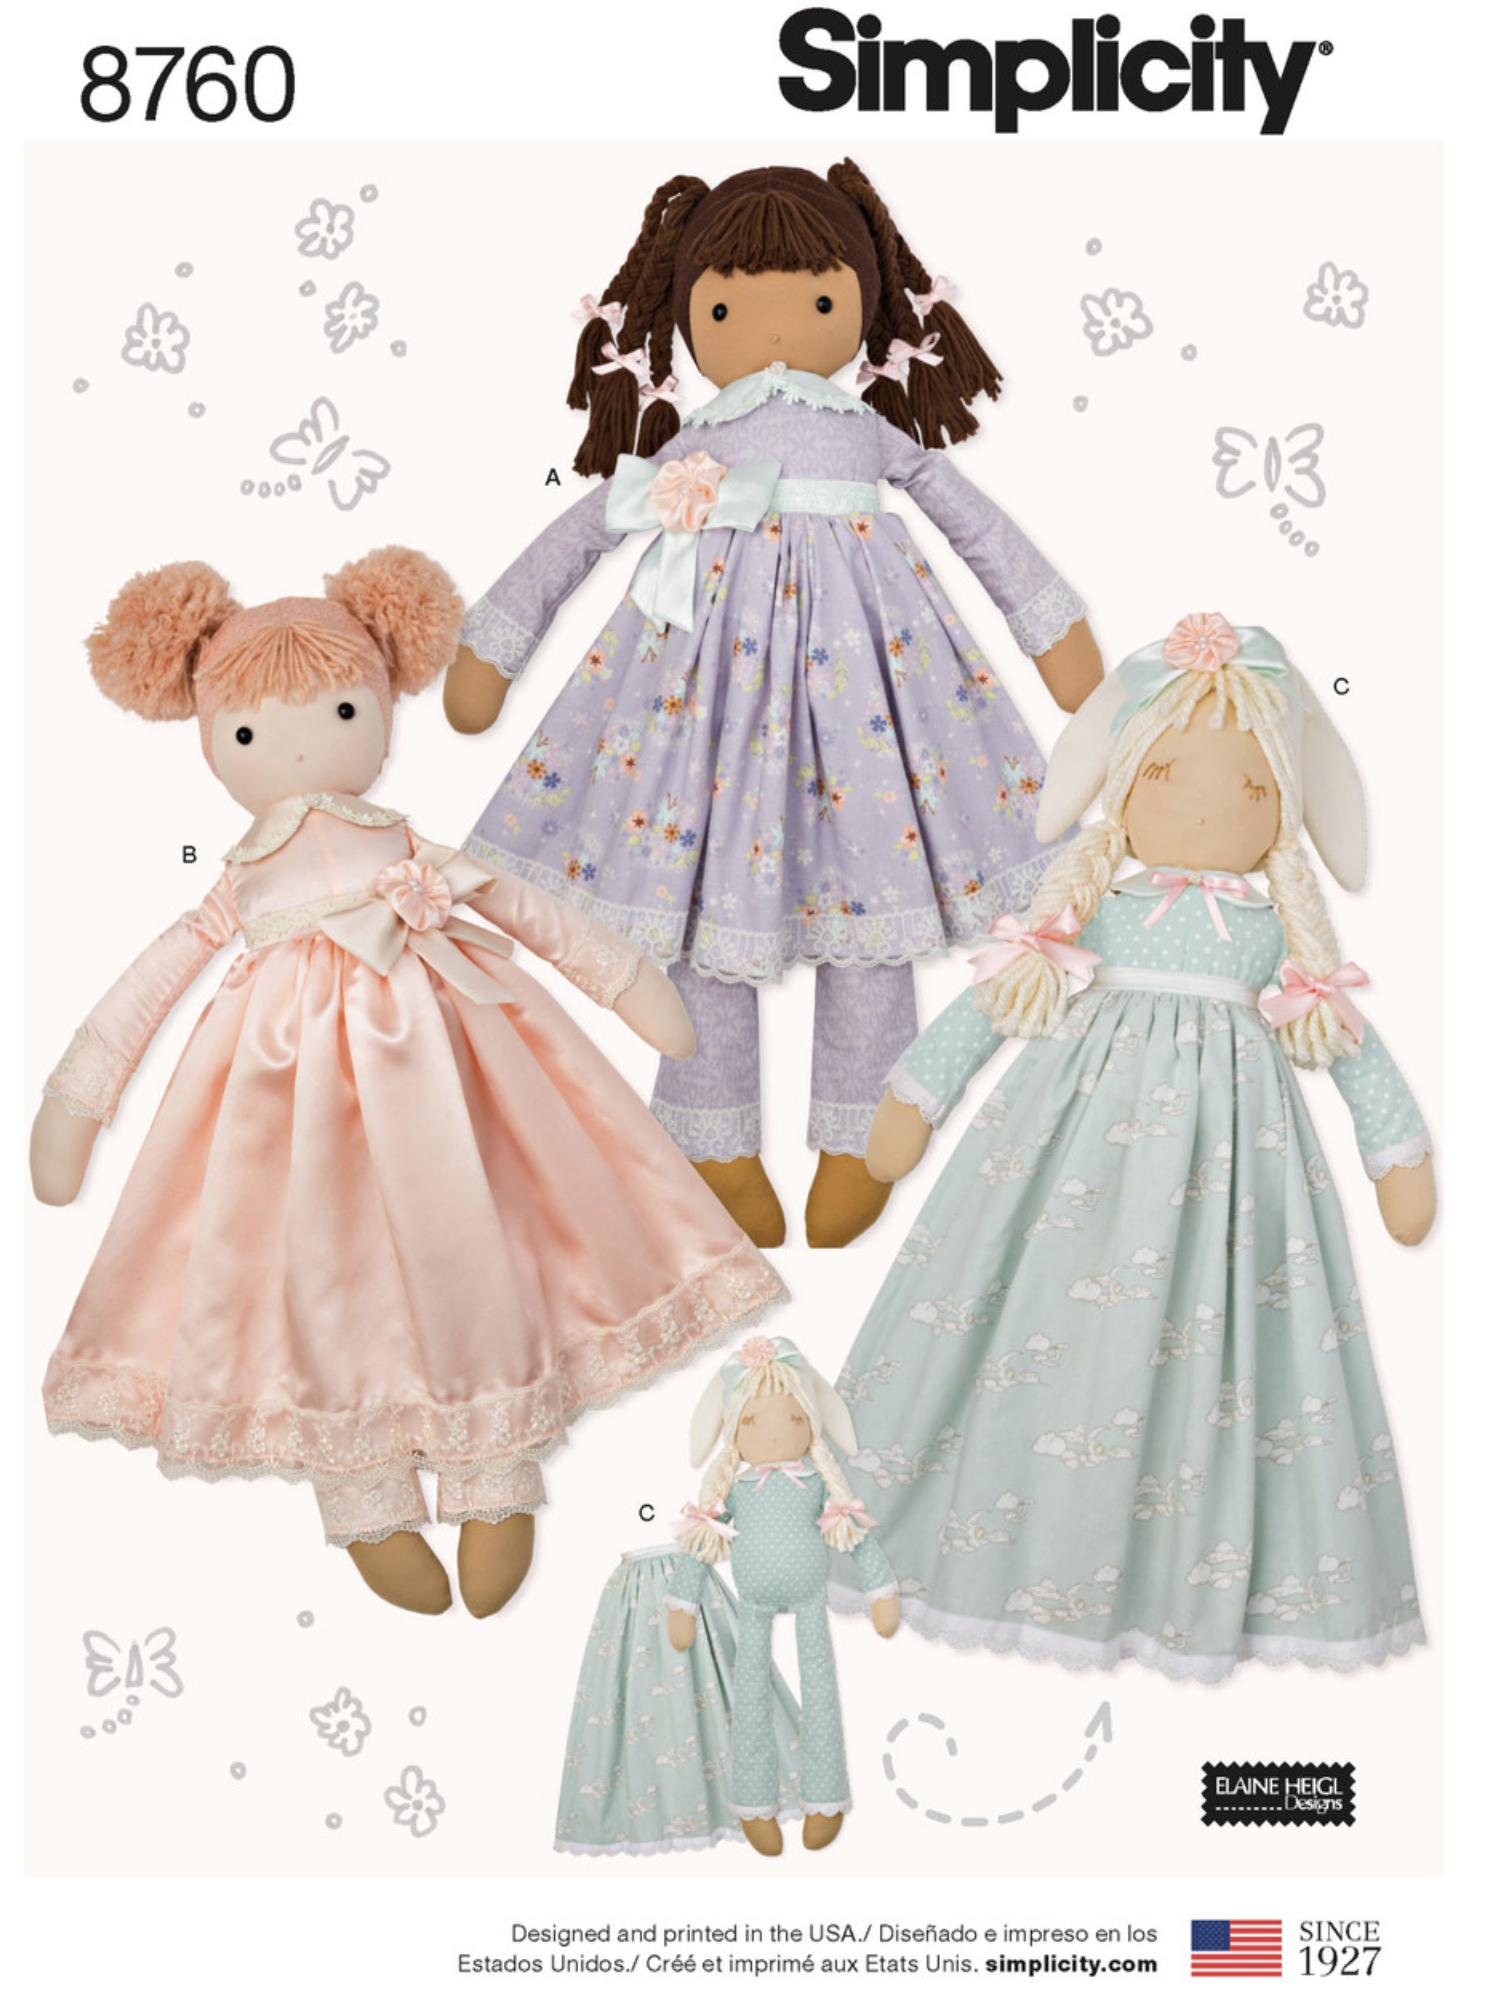
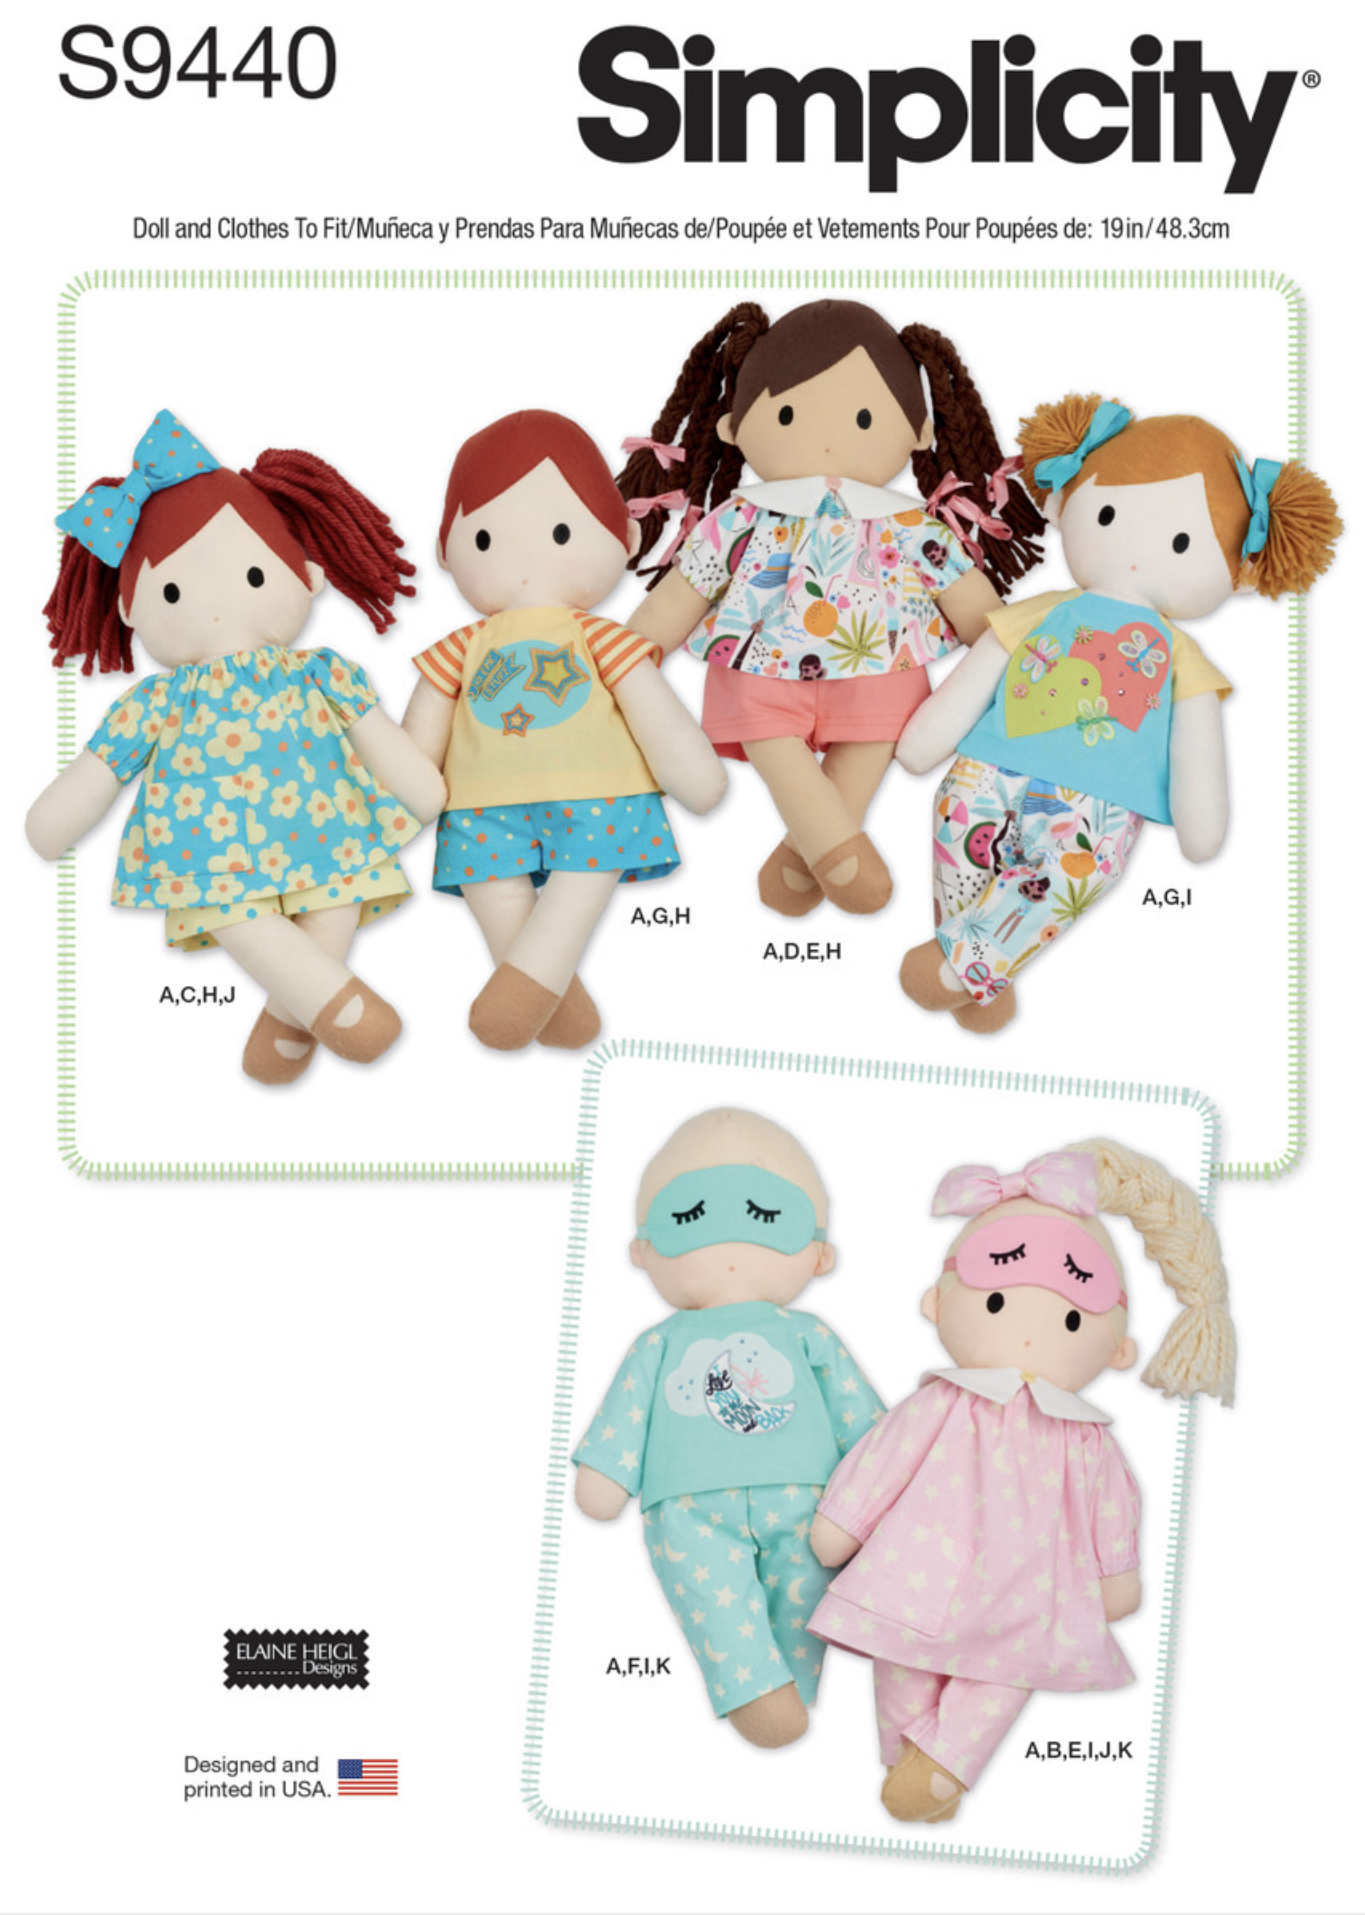
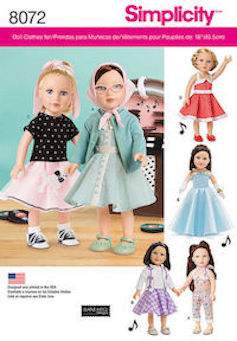
If you prefer a home sewing paper pattern of doll sets with complete wardrobes, check out the doll patterns at Simplicity.com by Elaine Heigl Designs.

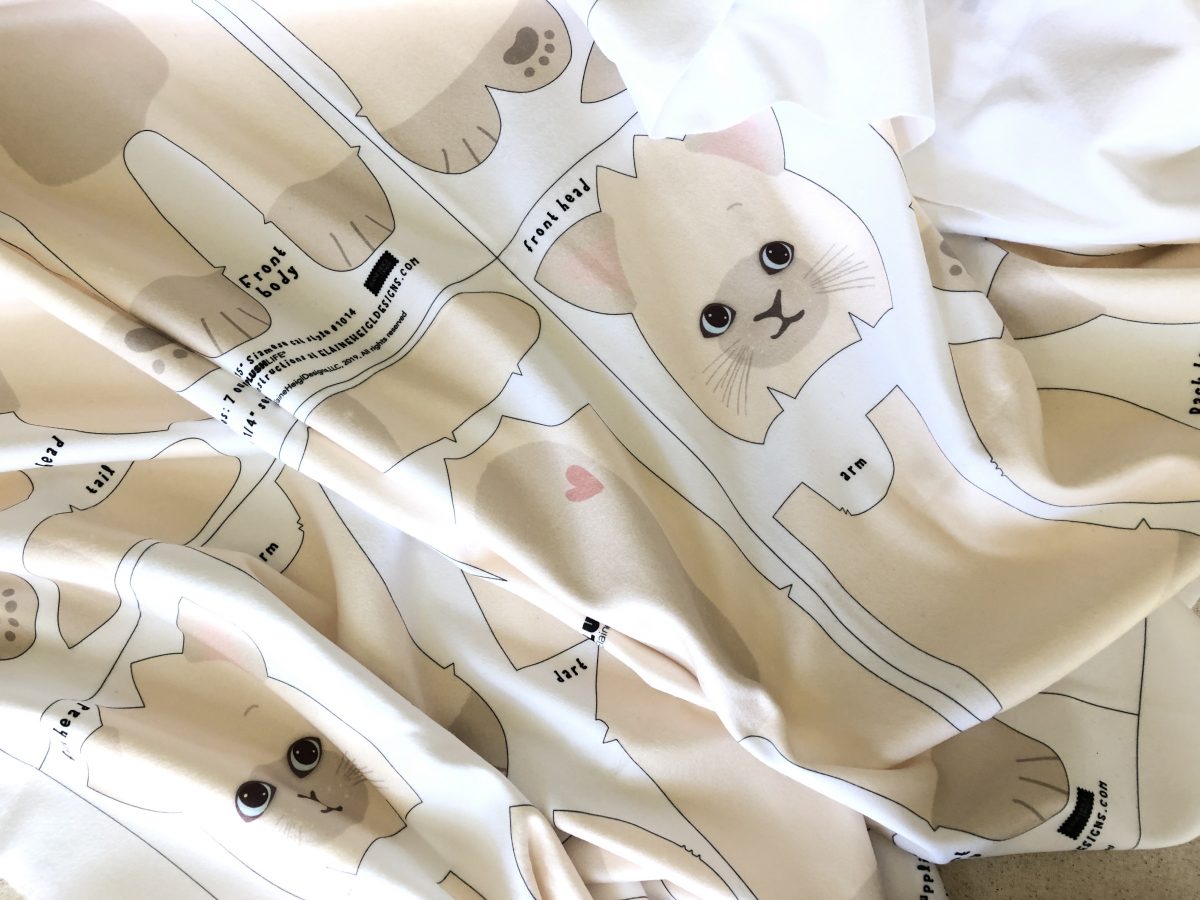
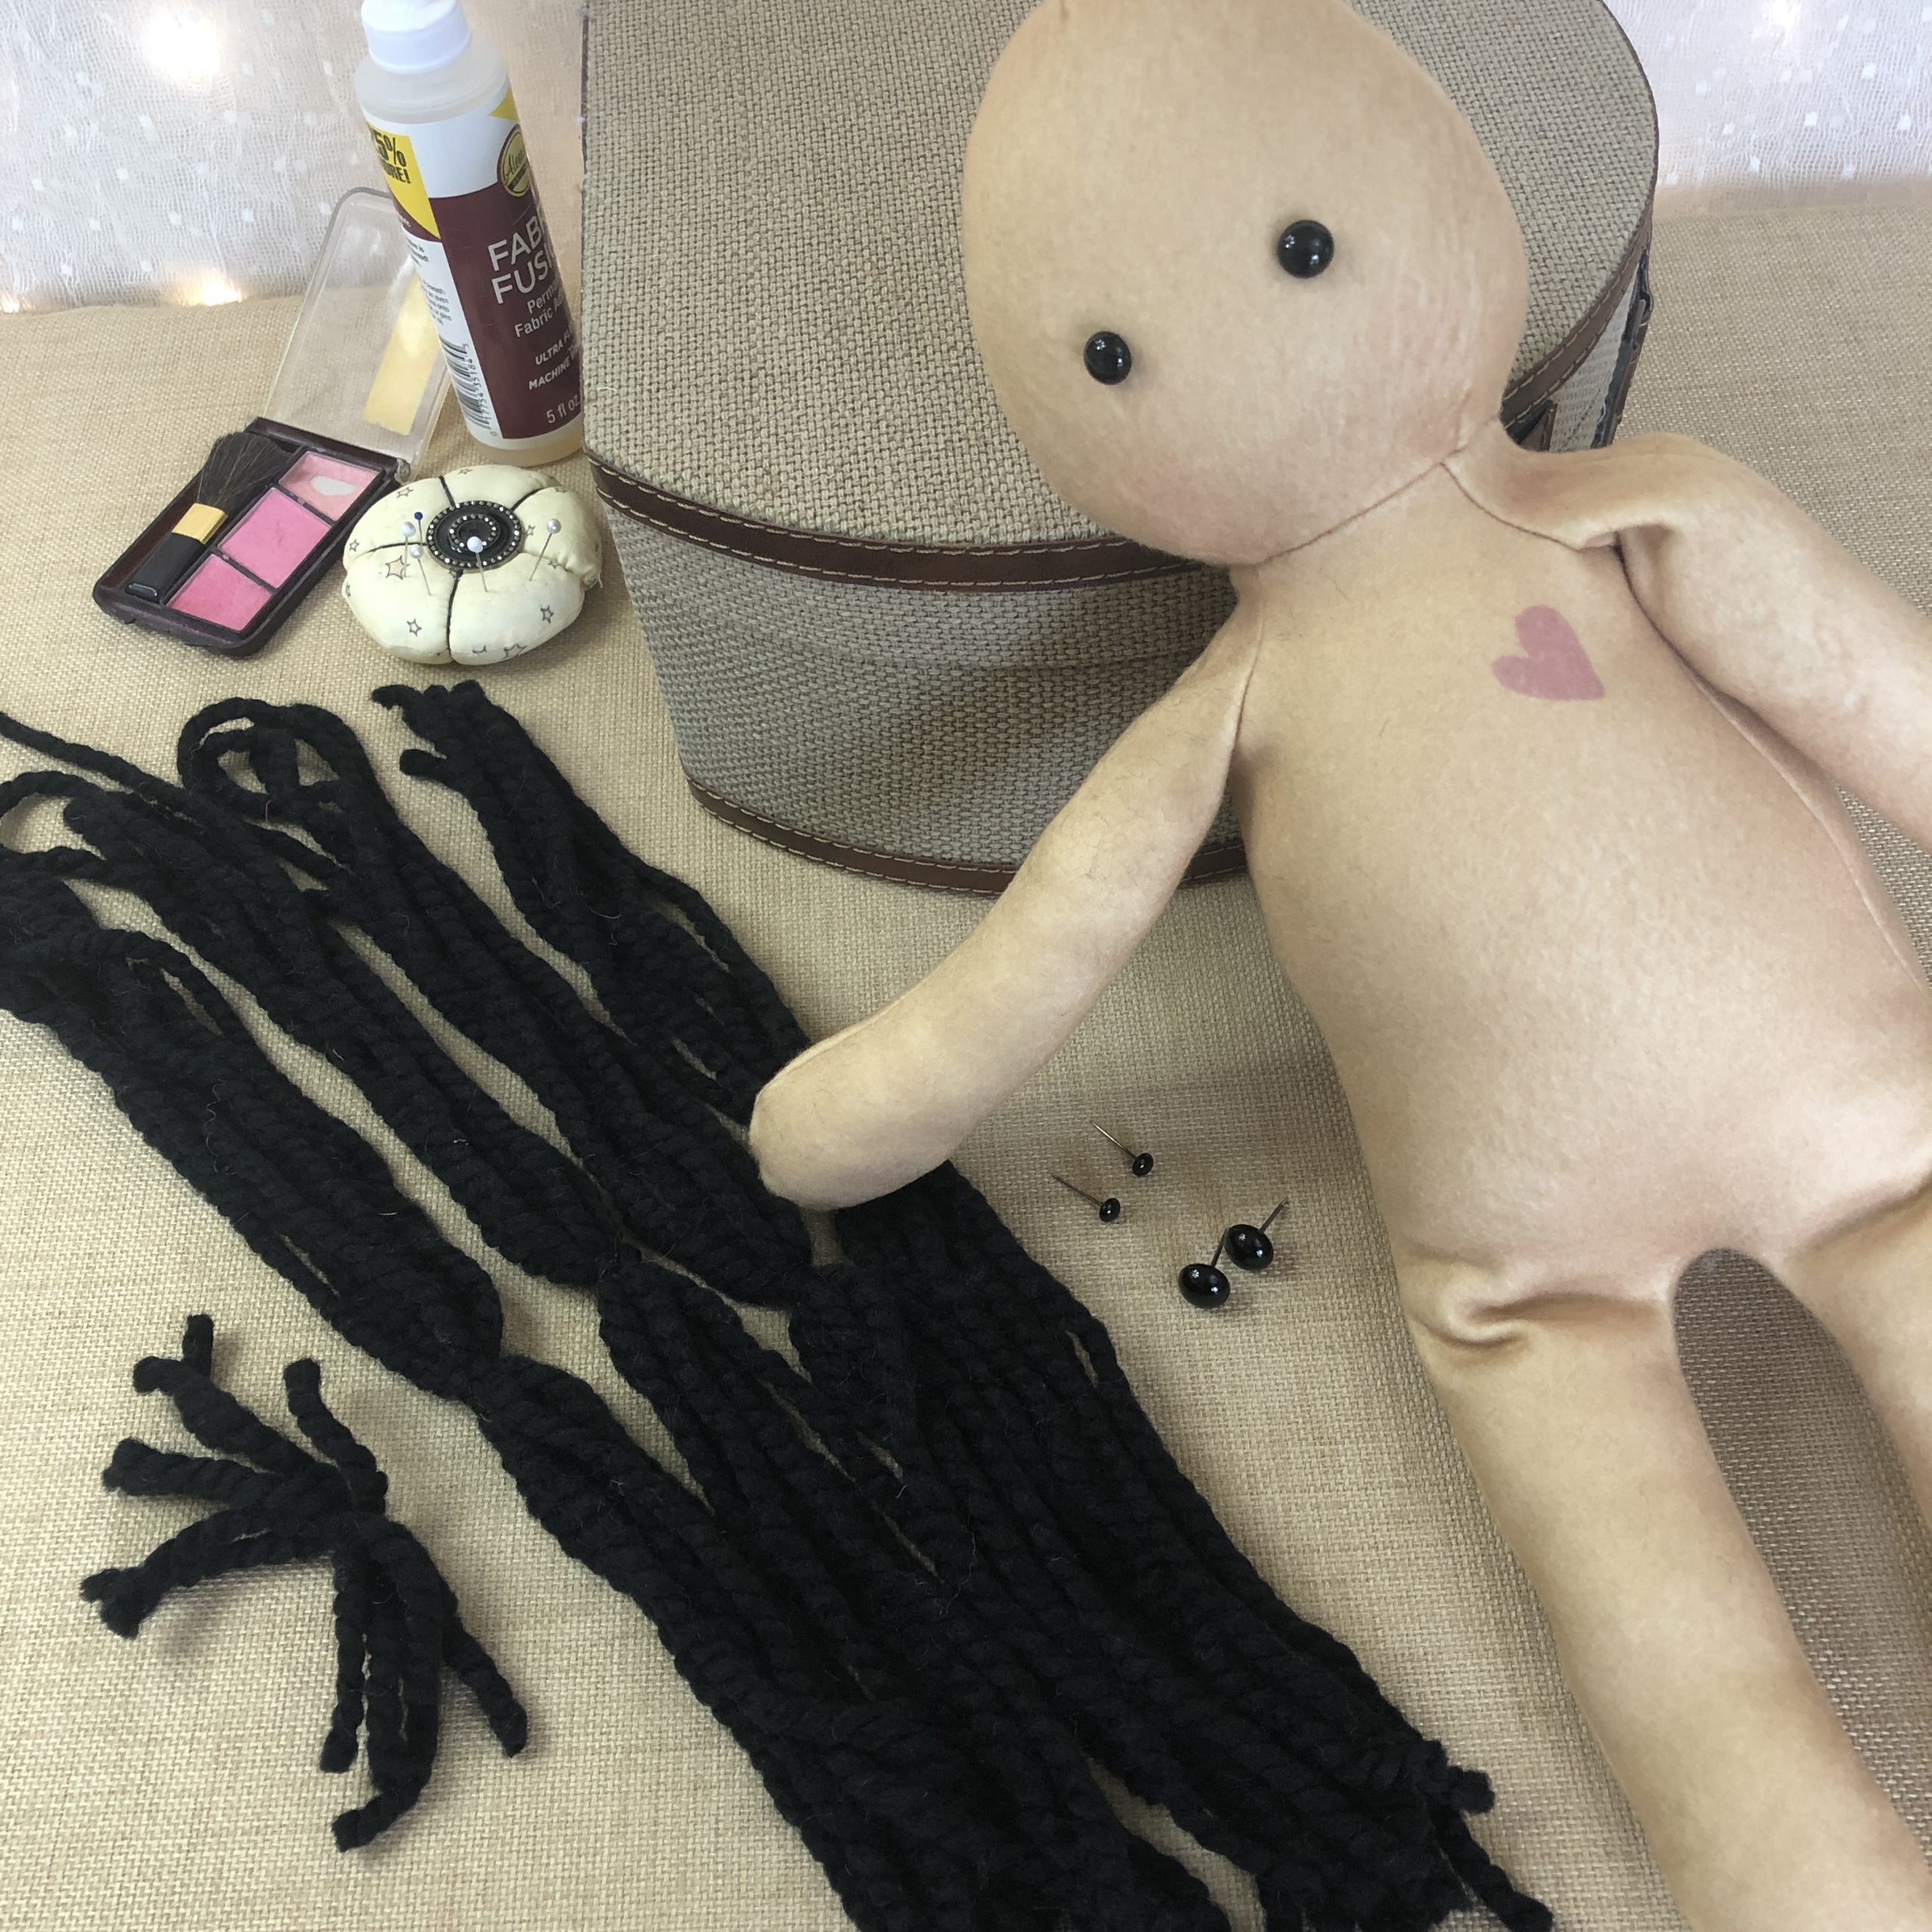
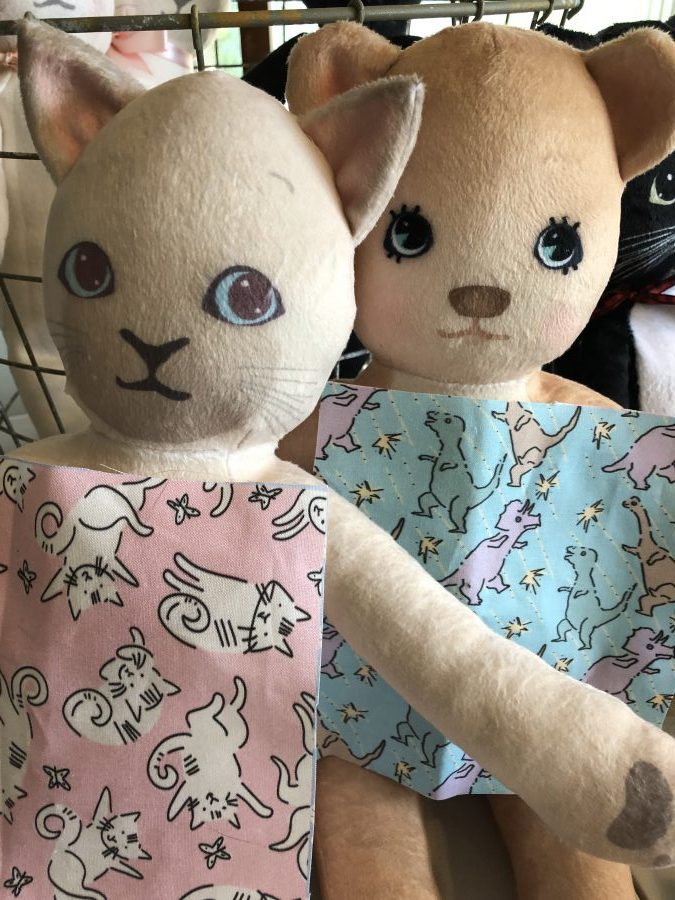
If you like total creative freedom, sew up a cut & sew doll blank. Choose from several skin colors, or sew up a diverse set.
A fully illustrated cut&sew baby doll is a quick sew. This is a perfect first doll lovie!

DOLL HAIR
Yarn is my first go-to choice for doll hair.
There are many mays to create a doll hairdo with yarn, click here for several techniques to consider.
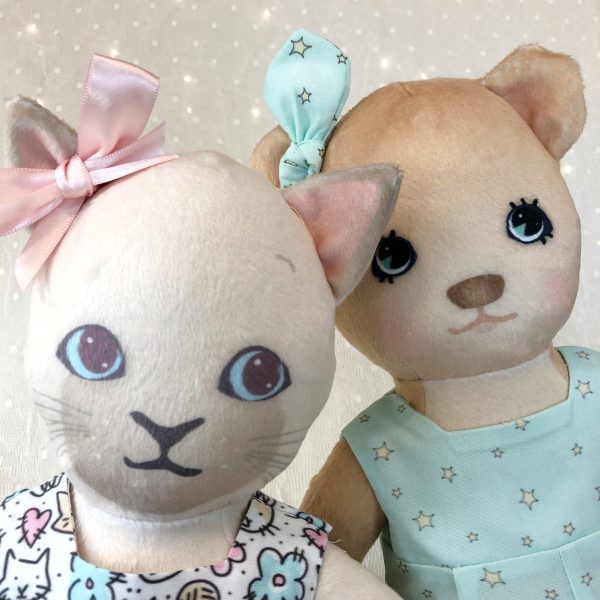
EYES
For eyes, shank or dome buttons are acceptable. Use lock in eyes if this doll is for a very young child. Eye placement is totally up to you.
When deciding eye size and placement, I find test eyes are super handy! Test eye assortments are available at CR crafts.
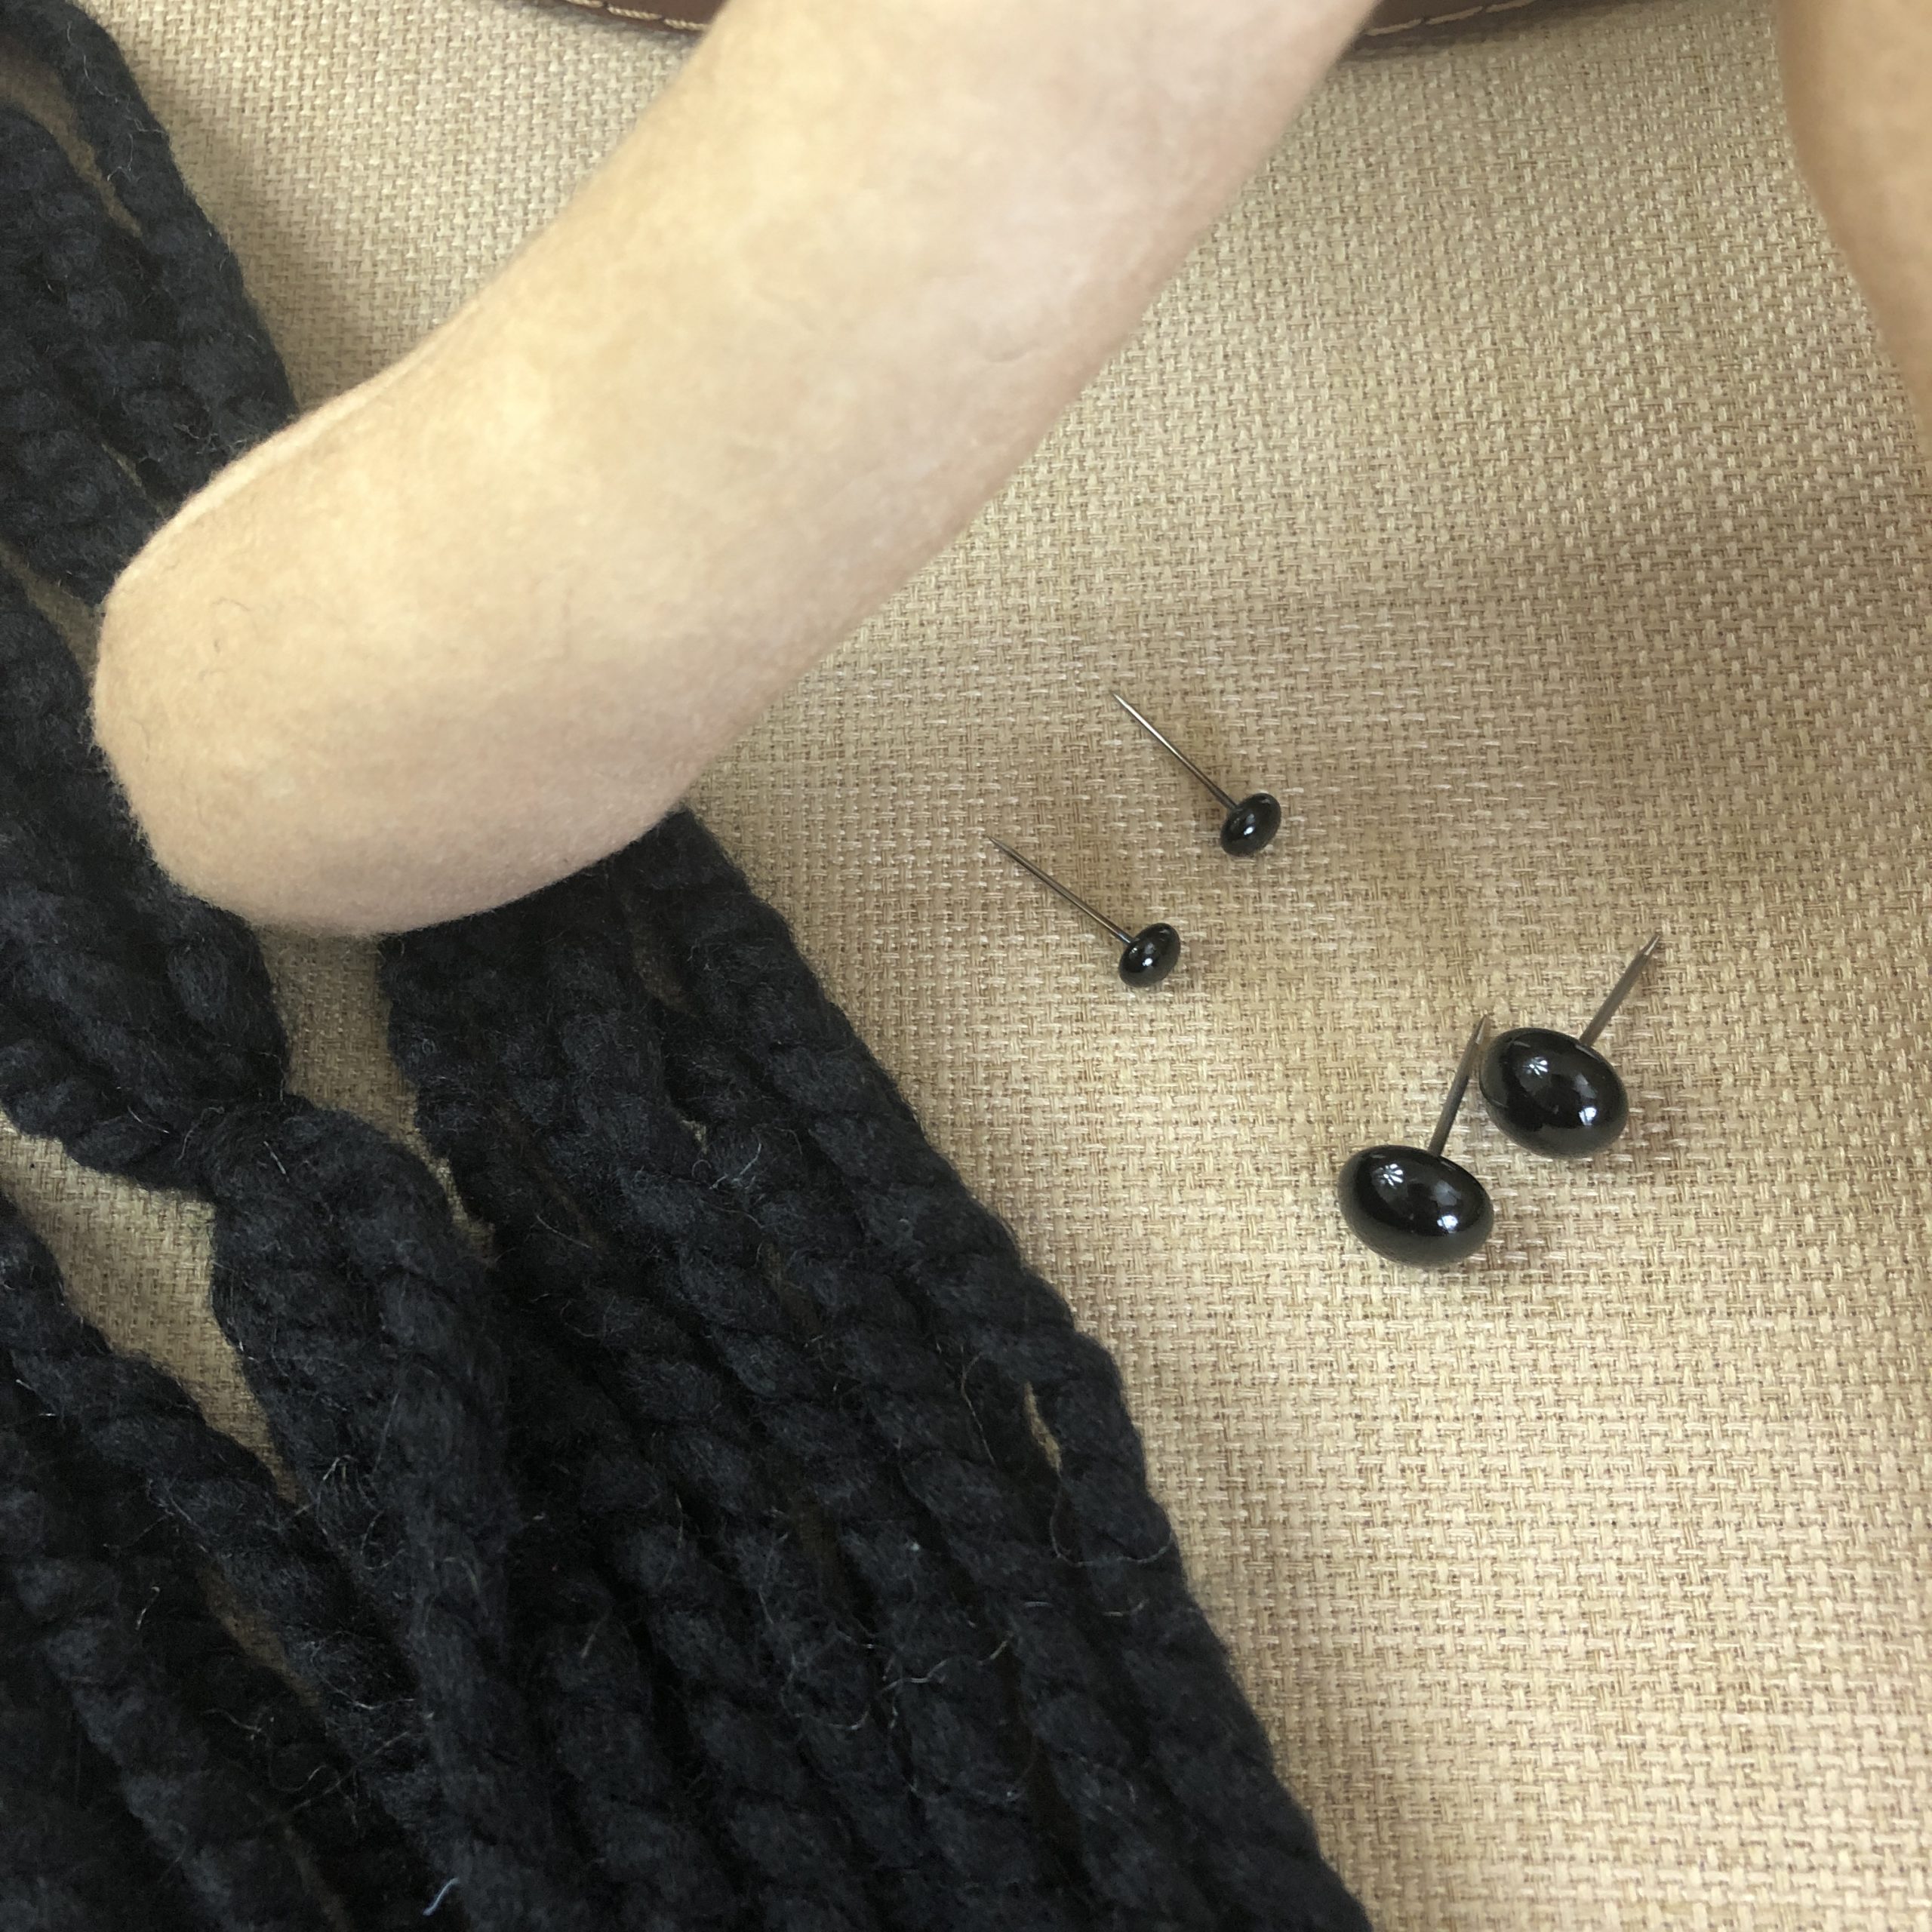
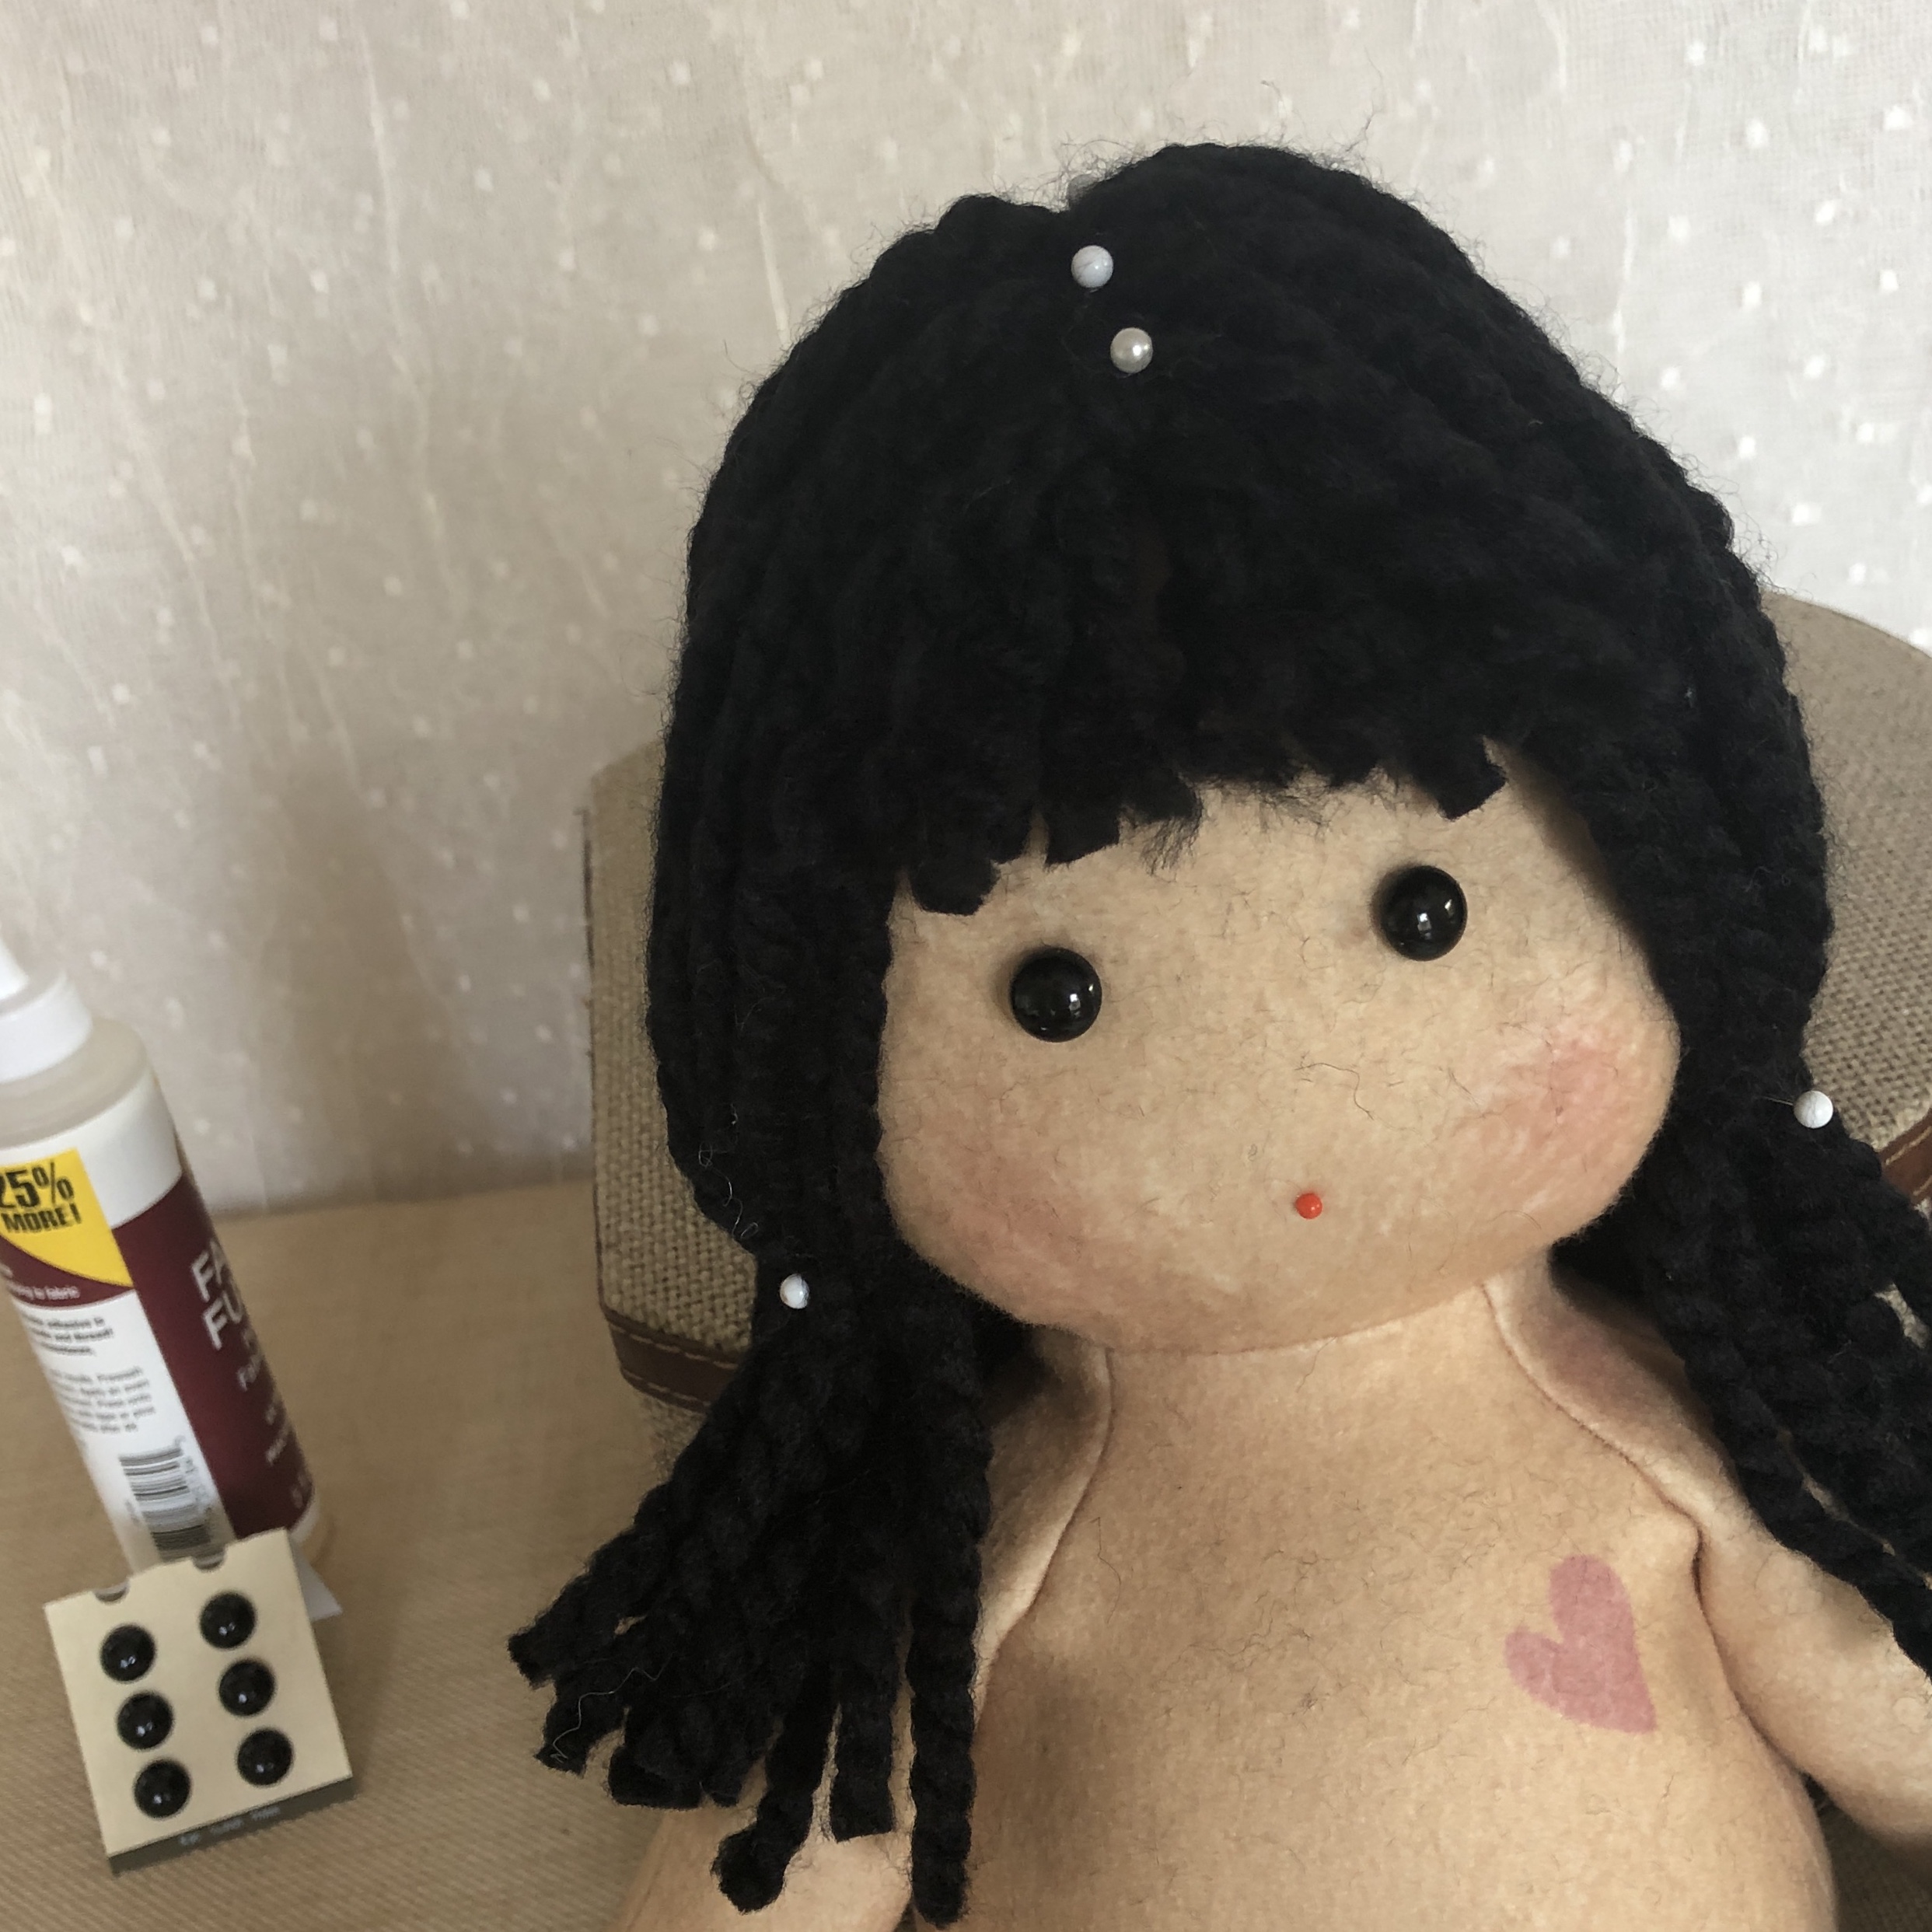
Design in progress! The vote is for a 10mm dome eye button.
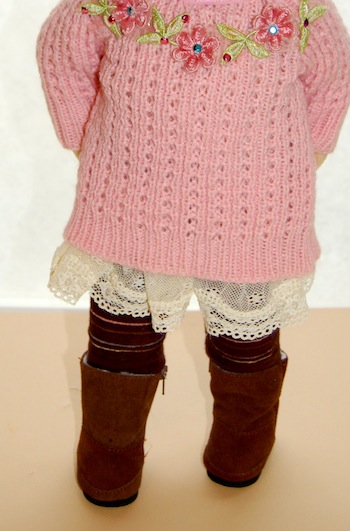
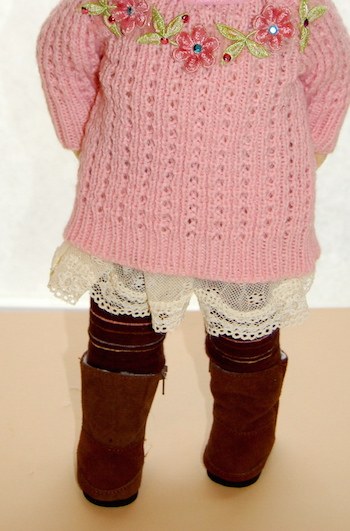
A WARDROBE FOR YOUR CUT&SEW DOLLS
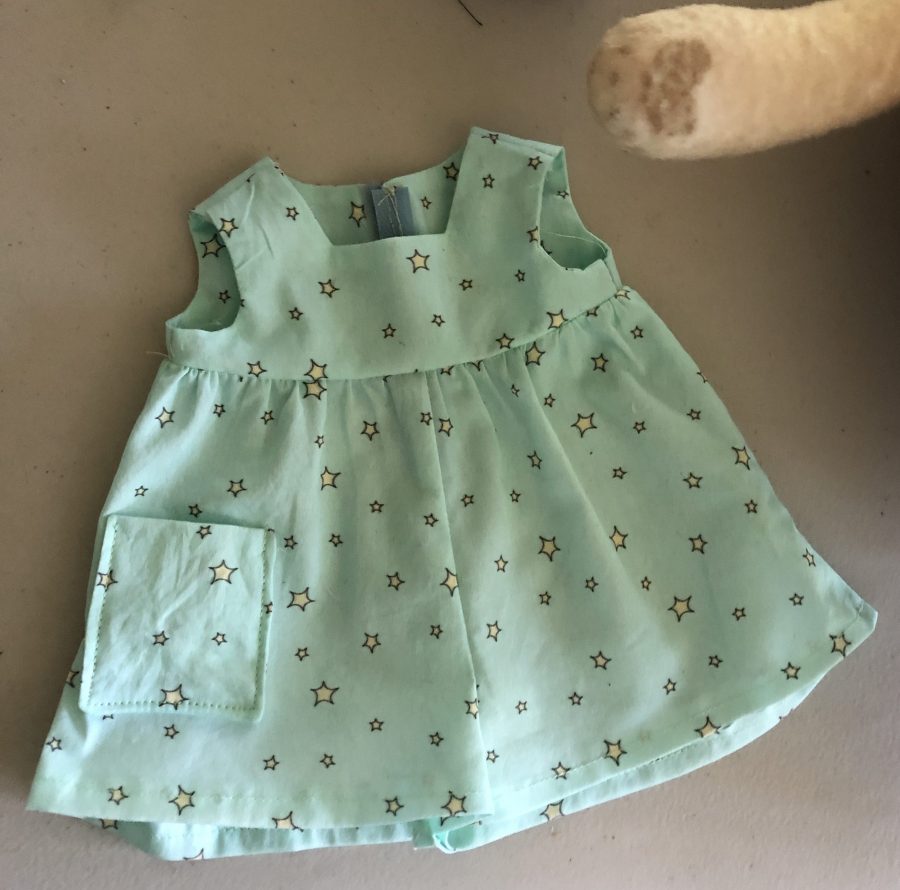
Build a doll’s wardrobe with the cut-and-sew PLUSH LIFE® clothing fabric panels. Download the instructions on this site.
OR you can use a pattern for 18” doll clothing and adjust the fit to your preferences. Check out my blog for current 18″ doll clothing designs by Elaine Heigl Designs.
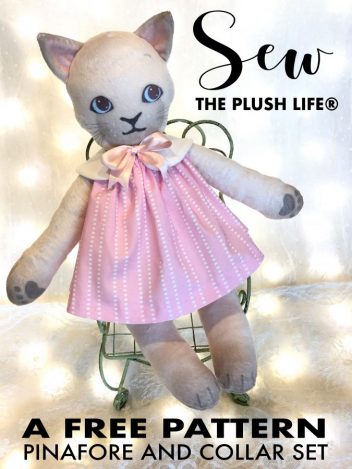
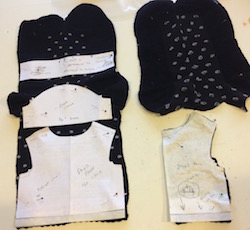
START A WARDROBE!
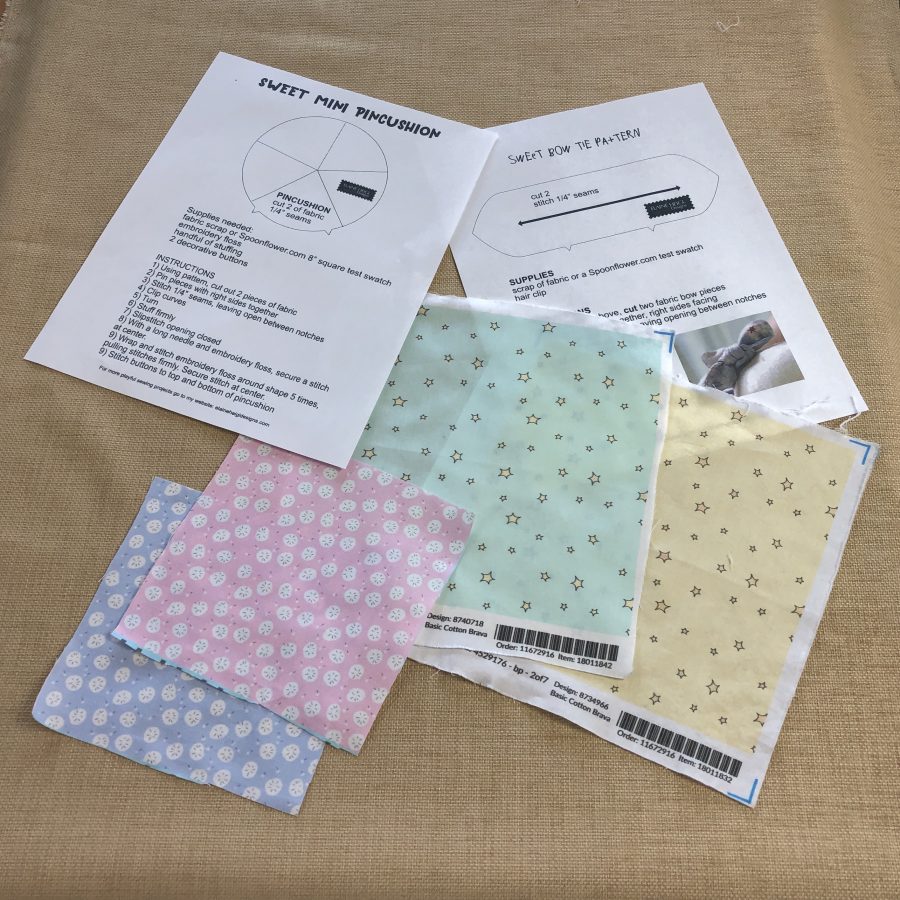
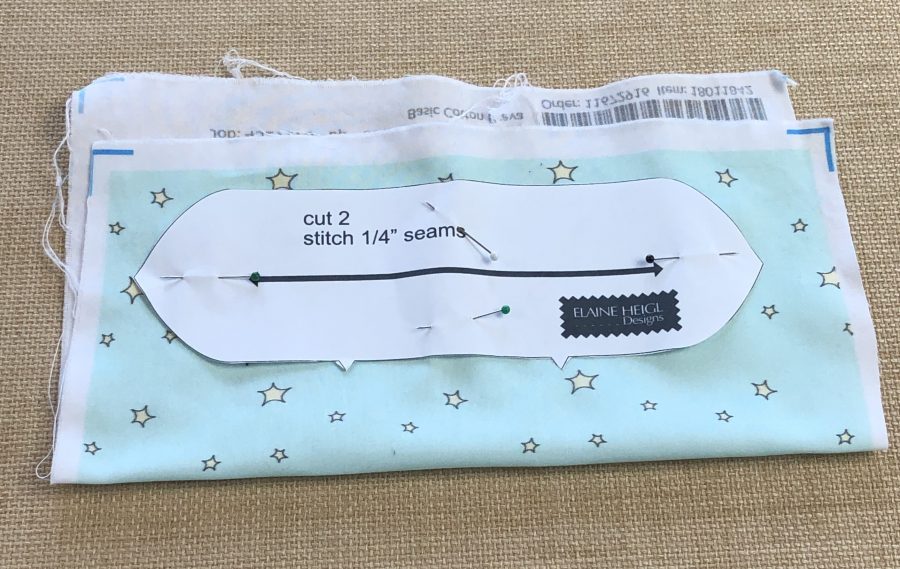
You can start a wardrobe now with this free pinafore and collar pattern.
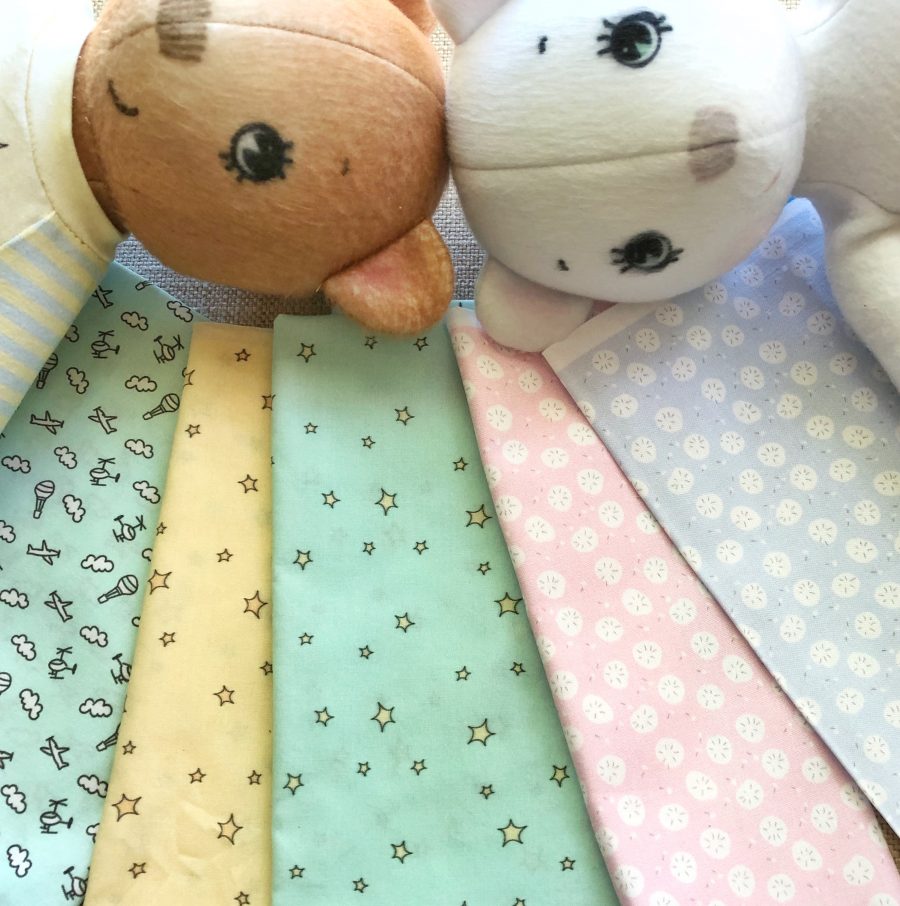
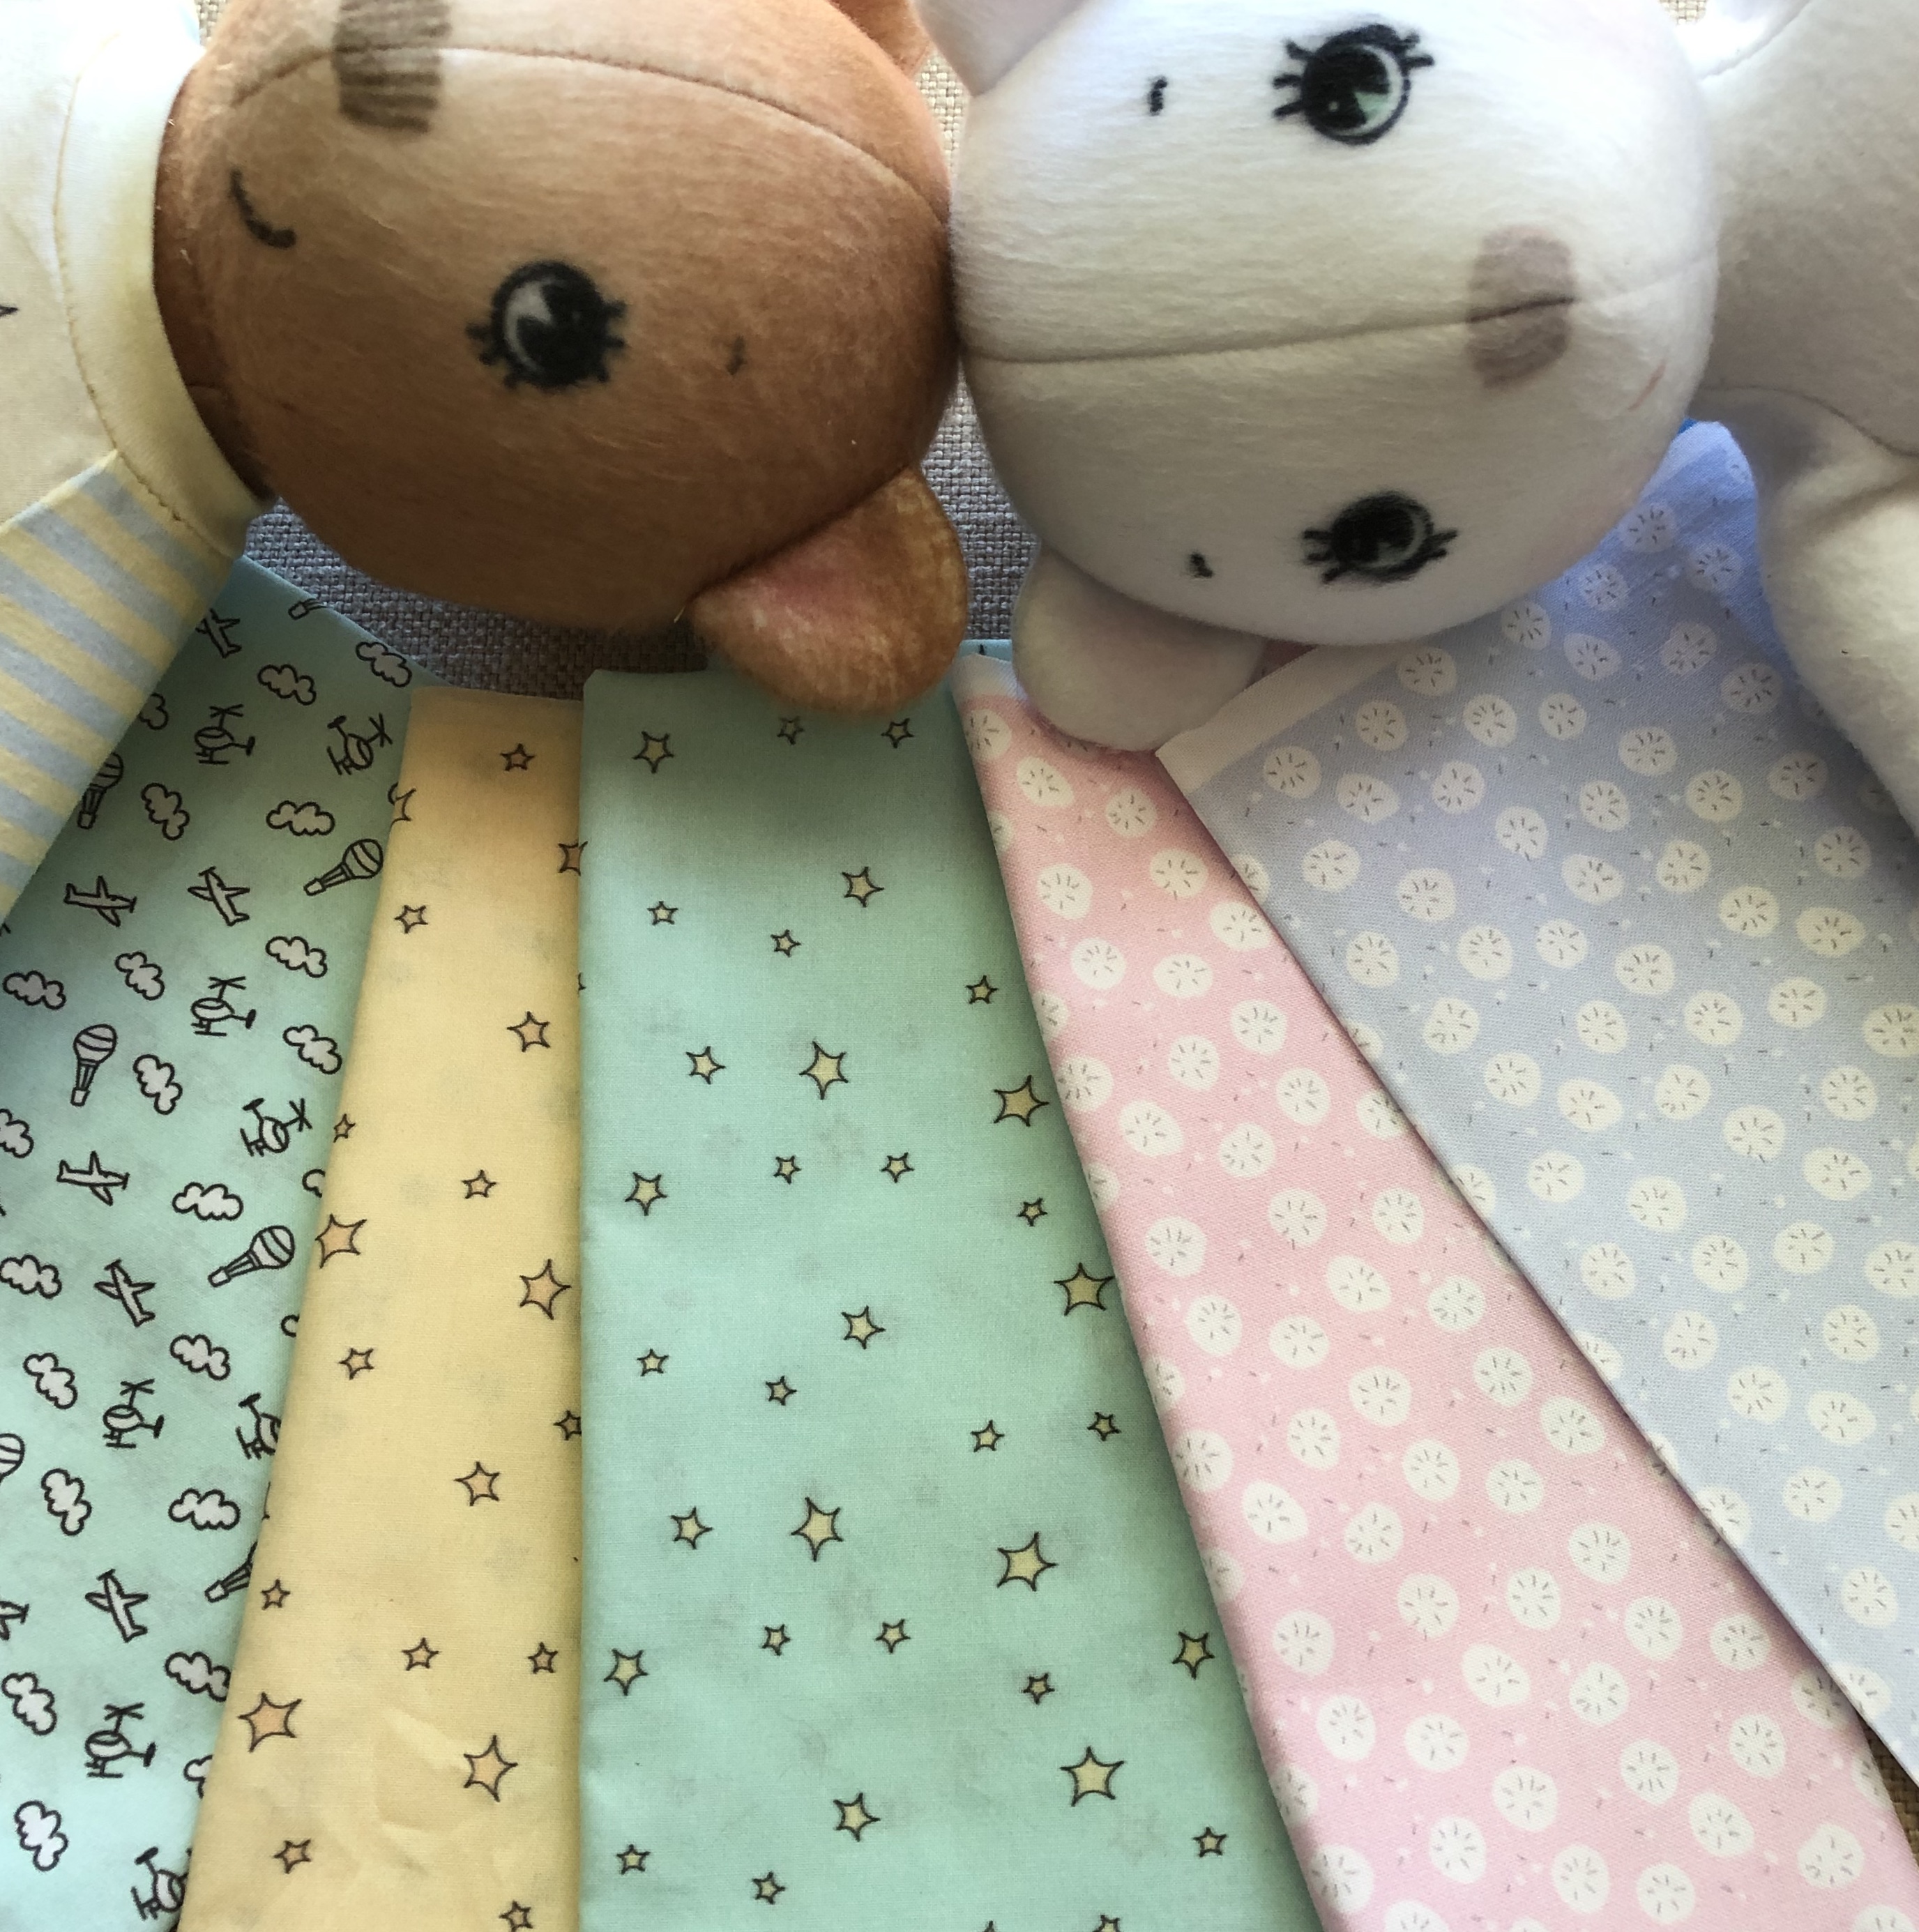
SHOP FOR FABRIC BY INDIE DESIGNERS
Spoonflower is a print on demand (POD) site for fabrics. Thousands of artists post unique designs that are available to you. If you would like to check out my growing collection at Spoonflower.com, click here. Perhaps you will find a fun print for your little cutie’s wardrobe!
Have fun with this! Will love to see your unique creations on facebook and instagram! Hope to see you there!
Sew happiness! E
