


START SEWING with easy projects
The original mission of this site was to introduce sewing to anyone who may have toyed with the idea of learning to sew but hasn’t found the motivation to start.
A motivation for learning a new hobby is that one must be AMUSED. So, it’s gotta be FUN … at least a large percentage of the time.
Fun is different for everyone. Like a child, I personally have a very short-term FUN-to-Frustration/ Satisfaction ratio. Meaning, I need to have some immediate results with a low learning curve! Read on for just that!
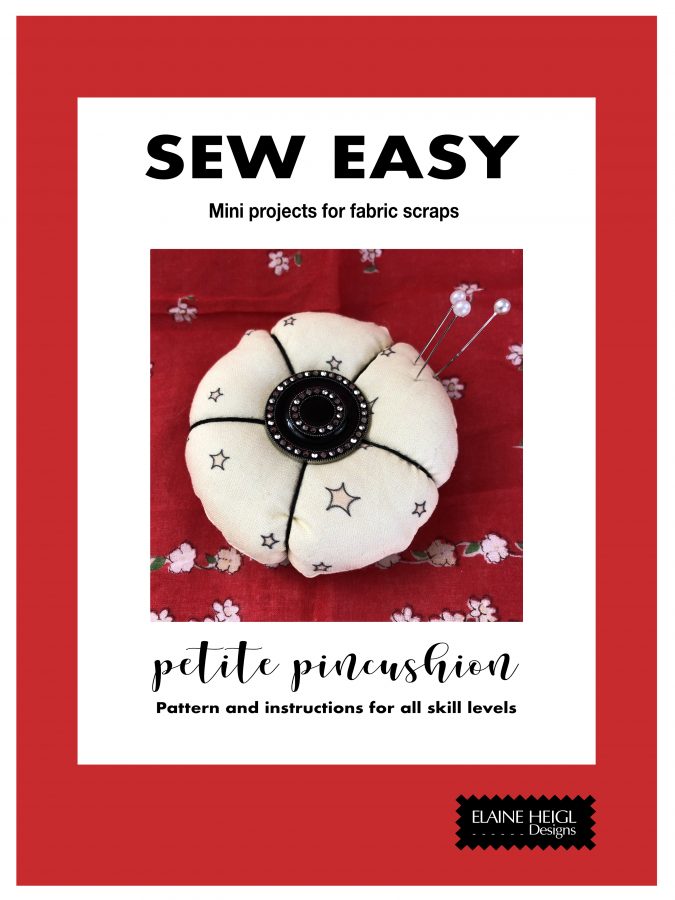
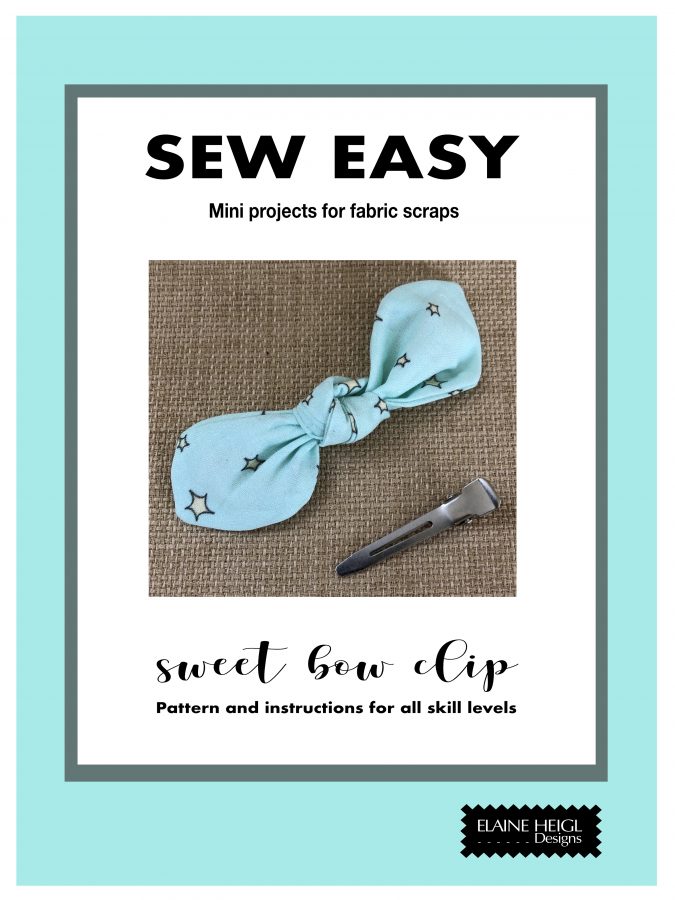
These are some free one piece patterns to get a taste for sewing.
So quick and easy!
Click photos for patterns and instructions.

For an easy project with a small learning curve for beginners, check out 2 piece animals by Elaine Heigl Designs for Simplicity. These sew up super fast! Make many!
Click the photos for more information.
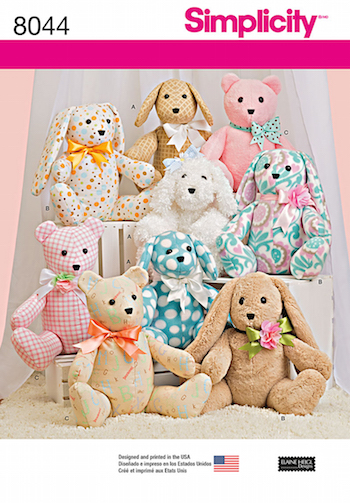
Simplicity 8044 are the original 2 piece animal sets by Elaine Heigl Designs. Make 2 piece animal babies with 8716…so lovable! 2 piece animals can be made from plush, minky, cotton, knit or fleece. Fleece is the very easiest fabric to sew.

If you think sewing might be fun…. you can start sewing, with a few tools, supplies, some tutorials and practice. No sewing machine? An inexpensive one (under $100!) will do! One can be purchased online or at a super store.
Sew! …….give it a whirl!
Elaine


