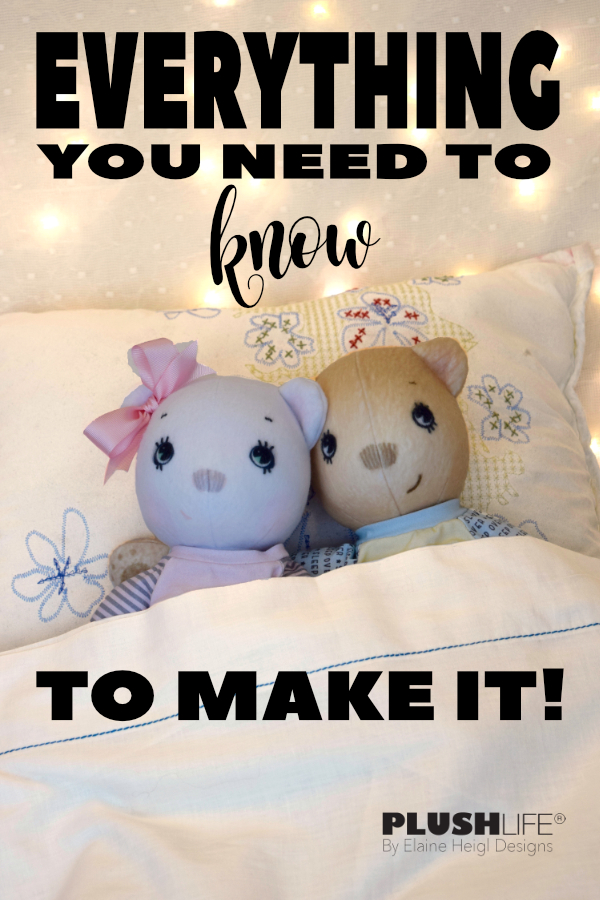
WELCOME!
Curious to start a PLUSH LIFE®? This is the place to find out about having the experience.
Hope you join in!
View cut&sew 17″ animals, dolls, and their clothing

Begin a PLUSH LIFE® by sewing a 17” animal or doll. Grow the experience by sewing clothes that fit. What’s the PLUSH LIFE®? Check the gallery, and be in the know!
Order fabric panels at spoonflower.com
order panel in fabric type “recommended by designer”
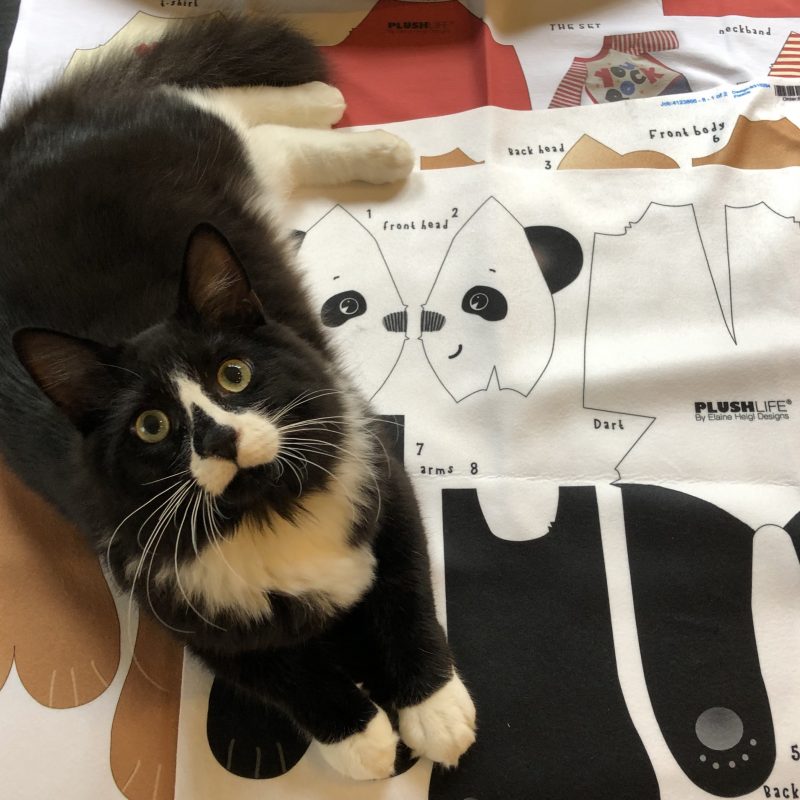
CUT&SEW FABRIC PANELS
PLUSH LIFE® bear and clothing projects start with cut&sew fabric panels that are available to view and purchase at Spoonflower.com.
A fat quarter of fabric is all you need to make one doll, animal, or a set of clothing, unless otherwise specified. Order each design in the recommended fabric for intended results.
It takes approximately 8-10 days to receive your order. Spoonflower is a print-on-demand service.
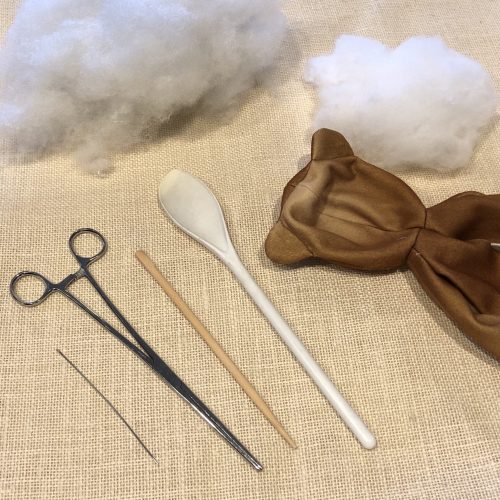
Be prepared: skills, equipment, tools and supplies
PLUSH LIFE® projects are intended to be made with a sewing machine. A stitcher with a little experience can make most projects. Sewing skills and tips are available to be acquired on various video channels and at local sewing stores.
Click below for the complete list of what you need to know and have to be prepared to make your PLUSH LIFE® experience.
Make PLUSH LIFE® animals and dolls!
5 easy steps
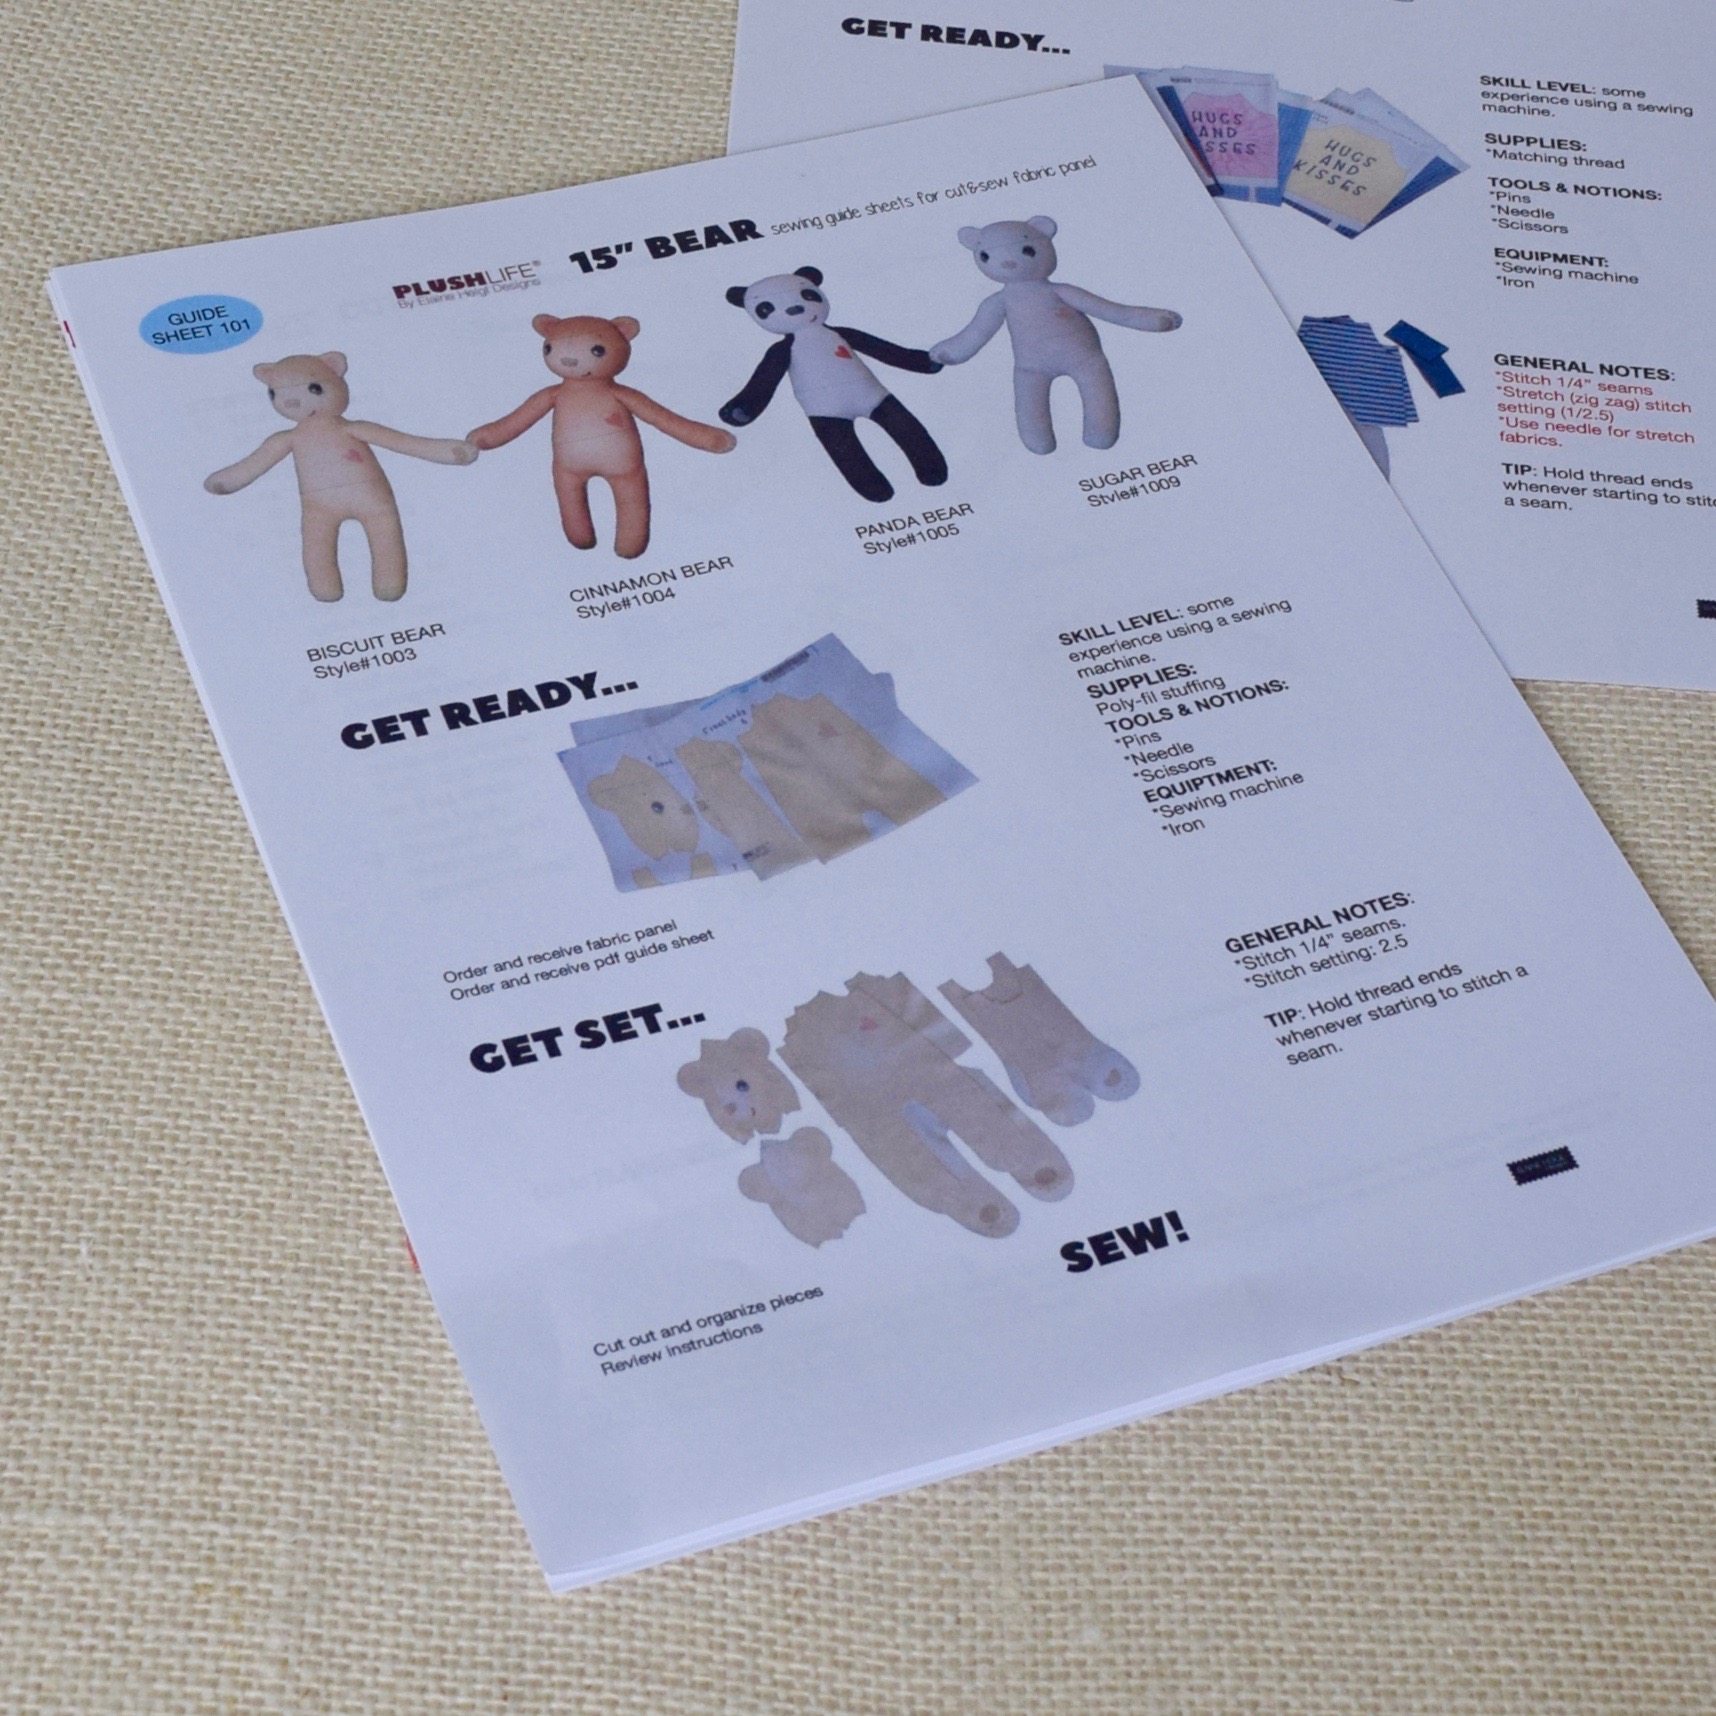
Step 1: Download guide sheets
GUIDE SHEETS
PDF guide sheets are available on this site. Each guide sheet includes step by step instructions, complete with photos. The guide sheet # needed for a project is posted on the design listing , and on the cut&sew fabric panel. Click below for guide sheet index and links.
Step 2: Cut it out
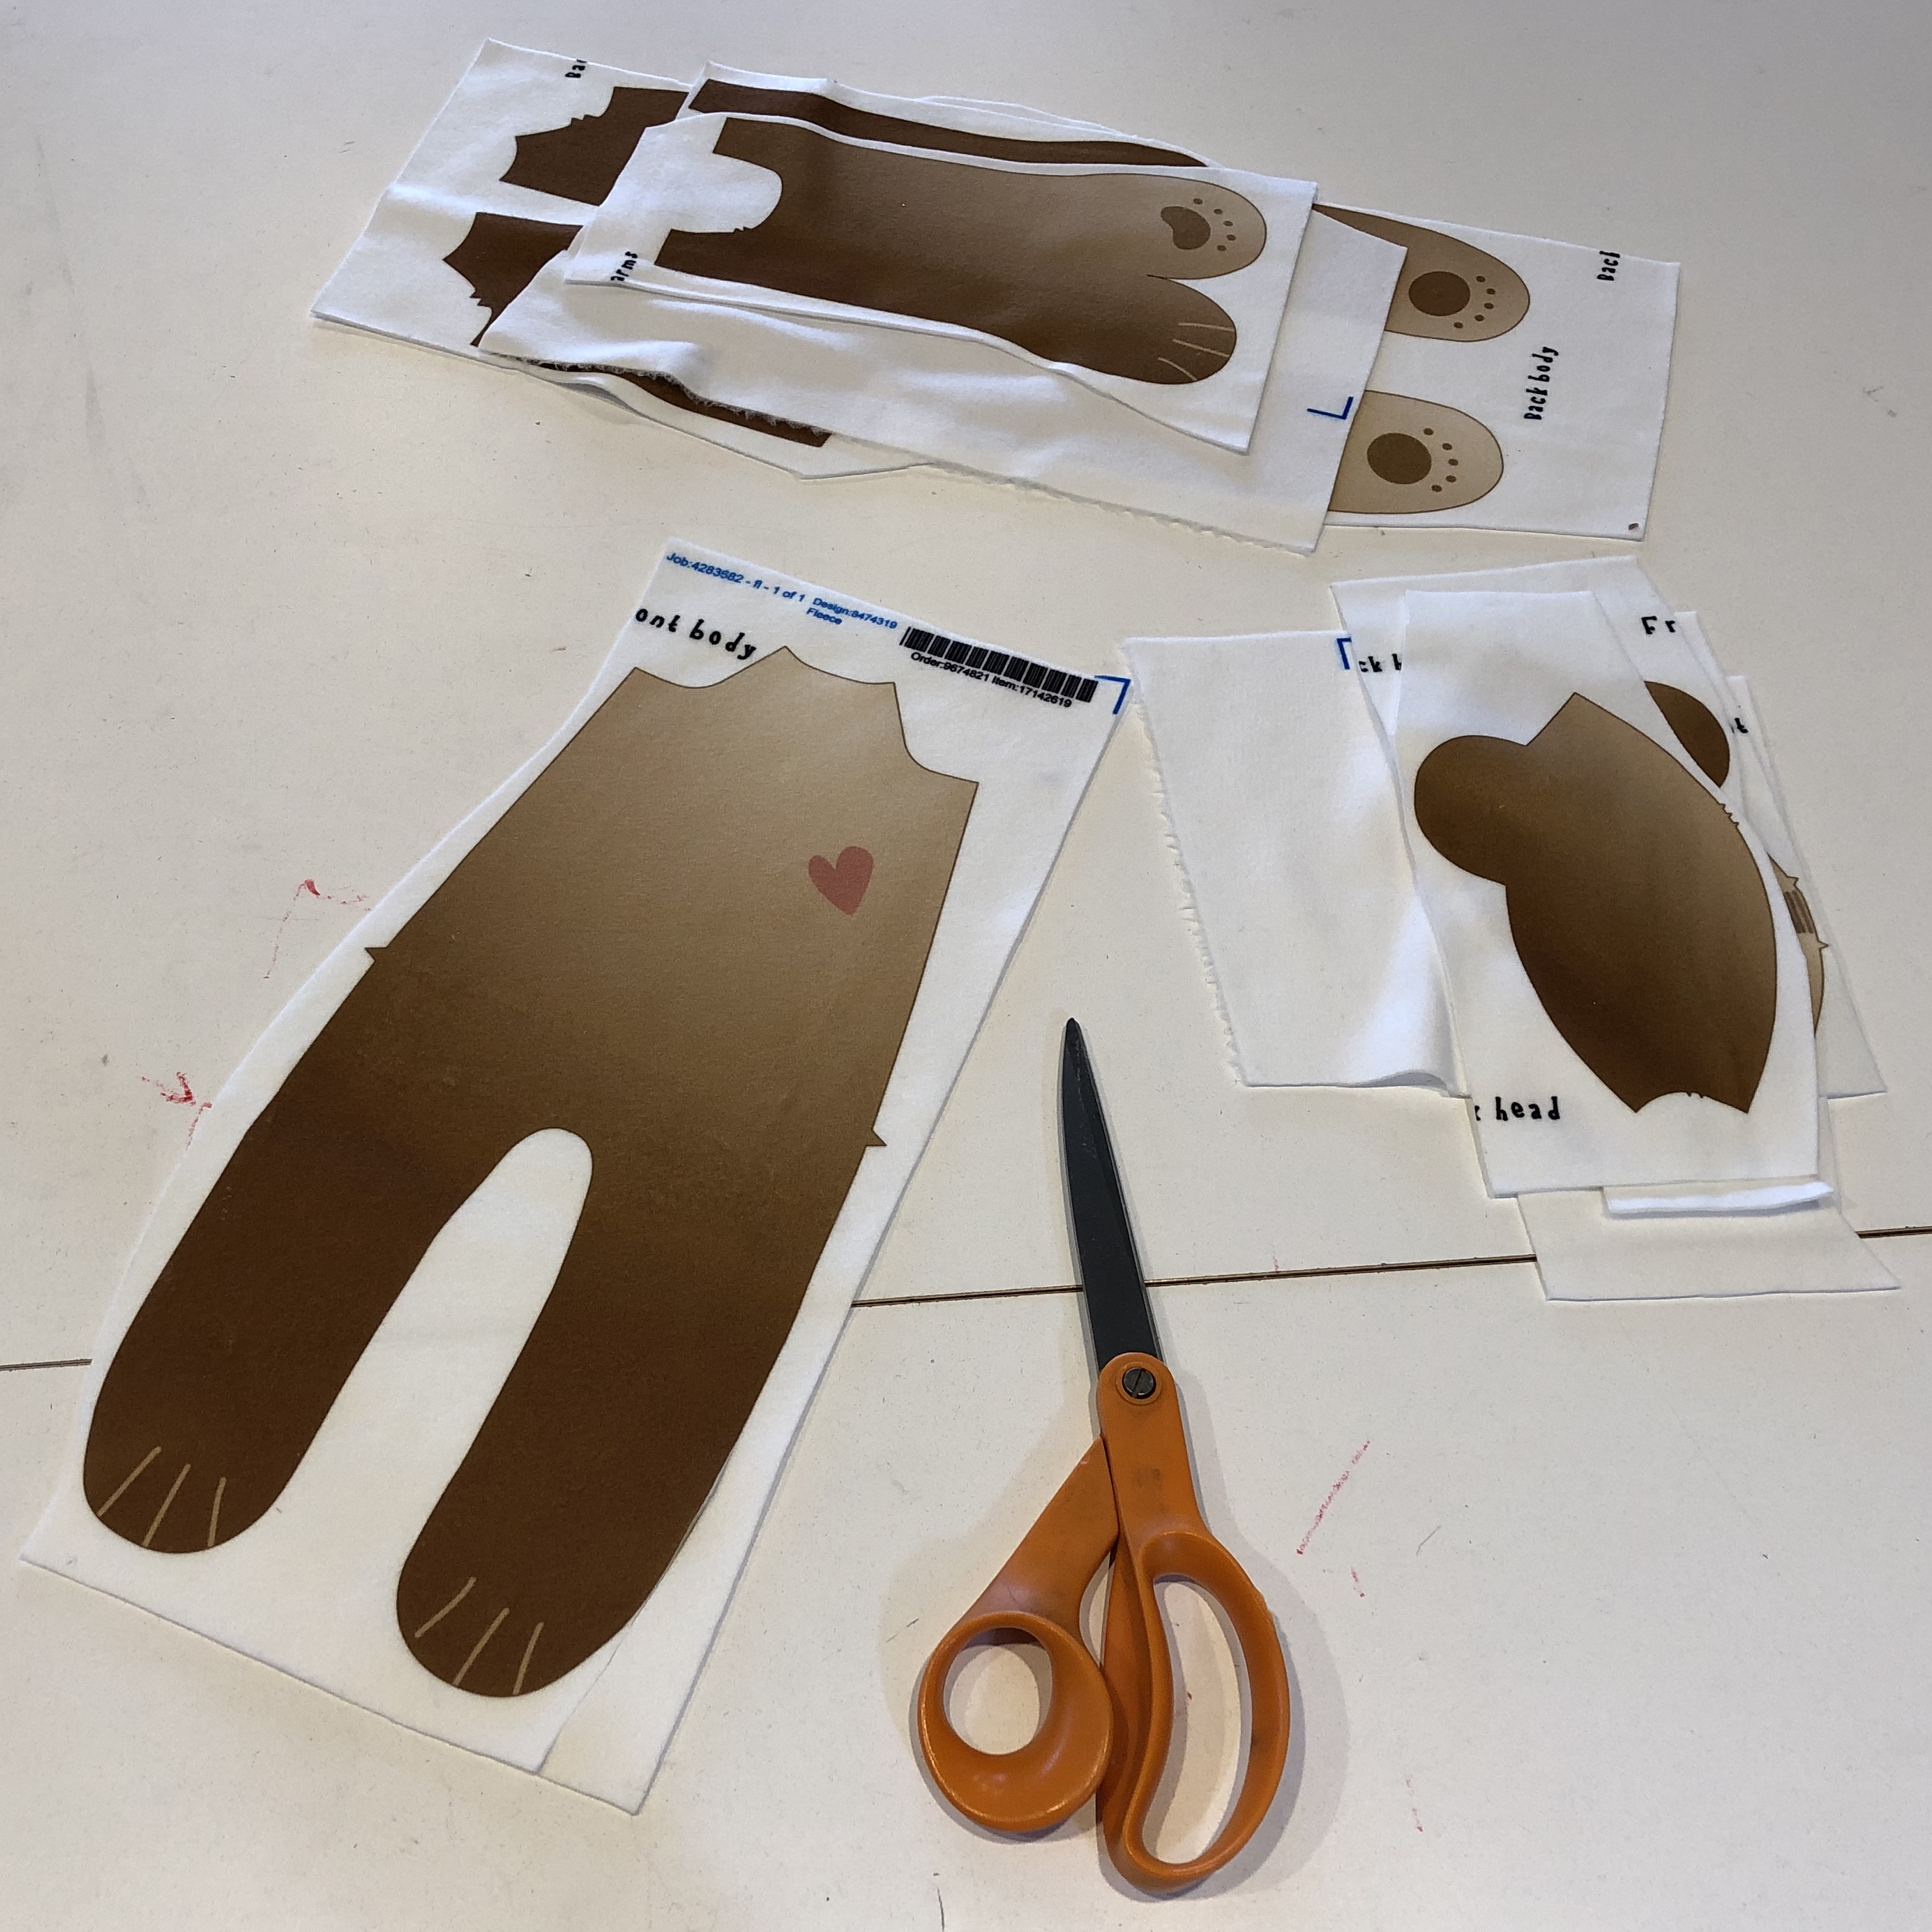
READ PANEL INFO
Read the information provided on the fabric panel and guide sheet, such as supplies and tips.
CUT
Cut loosely around the pieces in the panel, then cut out each shape as shown in the video.
Step 3: Sew it together
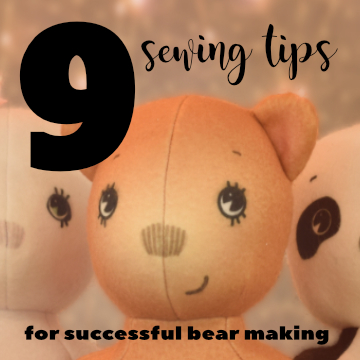
Sewing tips for success!
Step 4: Stuff
HOW TO STUFF
Stuffing your toy is easy, as well as an art. A blunt tool such as a large spoon, or chopstick is helpful when stuffing your toy. A long needle can be used to carefully fine tune the stuffing of your toy from the outside.
You can sculpt personality into the head. Stuff with thoughtfulness so the arms and legs have a floppy character.
Click the link below for a video about stuffing a bear.
Step 5: Stitch back closed
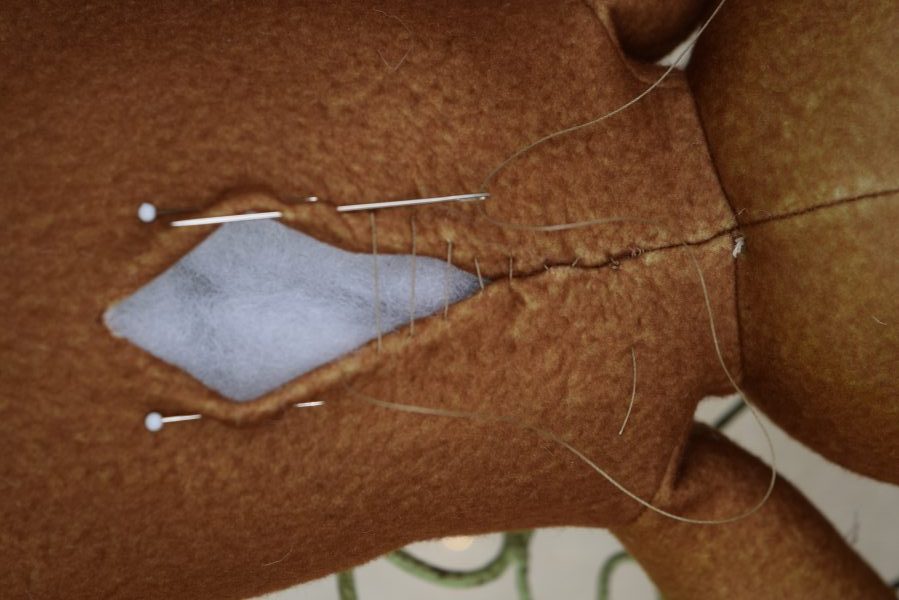
USE LADDER STITCH
Close the back opening using a ladder stitch.
Fold and pin back seams 1/4”. Stitch from one fold edge to other side, inserting needle 1/4” with each stitch.
Some optional add on extras: the personal touch
EMBROIDERY AND LOCK IN EYES
Embroidery is a way to further customize your huggable. Embroider a greeting…or face accents. Right now I’m experimenting. I will let you know the outcome in a future post.
Button eyes, or safety lock eyes are an option. If this bear is a gift to a child, use safety lock eyes. Attach lock in eyes before stuffing the bear.
Pull stitches can add even more character to your stuffed doll or animal.
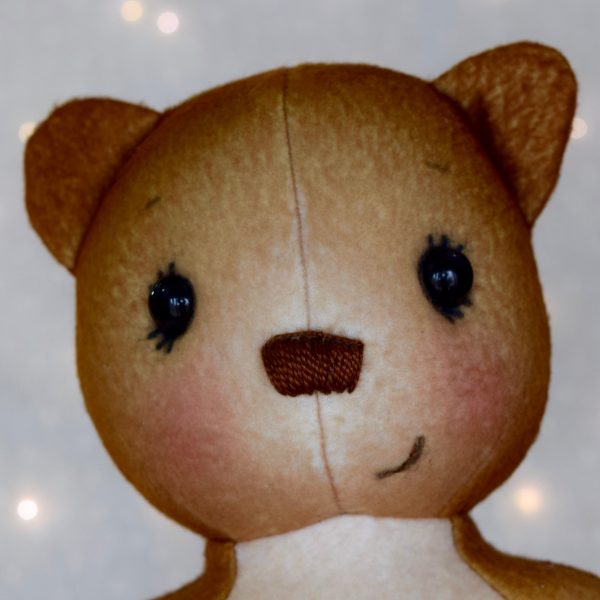
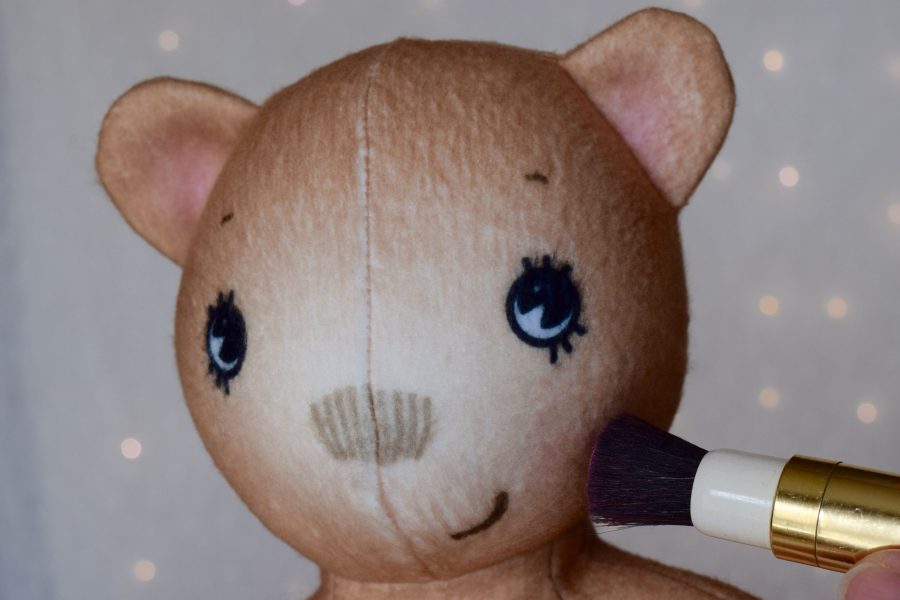
BLUSH
Add a little color and life to your bears face. This is something I must do! Leftover habit from my toy industry days!
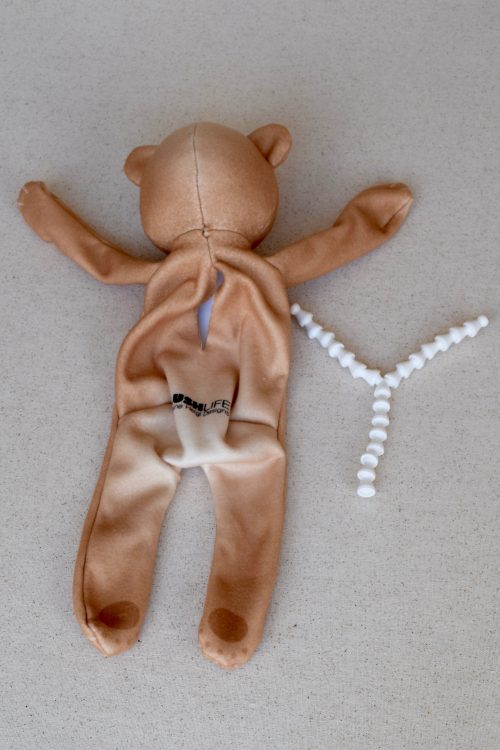
MAKE POSABLE
You can stuff your doll or animal with an armature to make them posable. Great for photo opportunities! The armature used in these photos is from CR crafts. Visit my Pinterest boards for resources.
Add to the experience: clothing and accessories
CUT&SEW CLOTHING
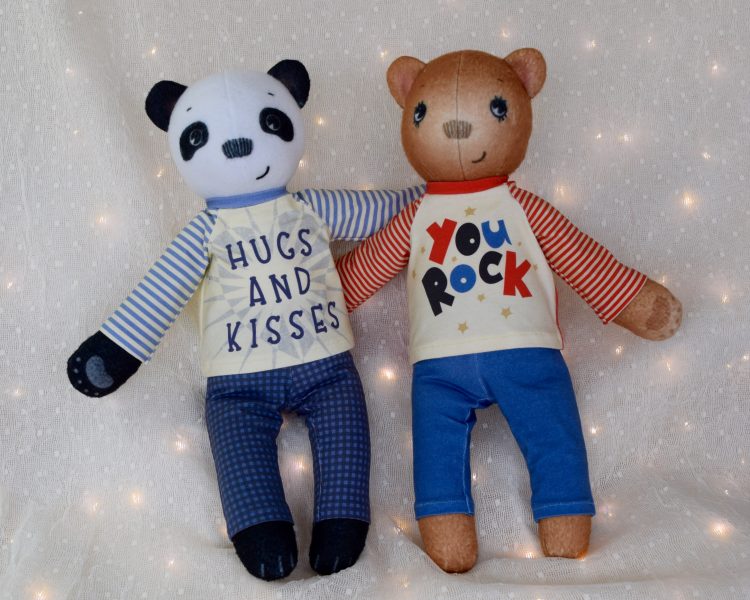
Dress them up! Boy or girl, there are outfits for all. Watch the growing selection of cut&sew clothing designs. Make more to craft your unique experience.
ACCESSORIES THAT FIT
Some 18” accessories will fit the PLUSH LIFE® characters. High top sneakers and boots can be a successful fit. There are plans in the works for shoe patterns on this site.
TRY 18” DOLL CLOTHING PATTERNS
The PLUSH LIFE® animals and dolls measure 17” tall. Some 18” doll clothing patterns can fit the animals and dolls with some slight adjustments. Watch for future posts addressing this concept.
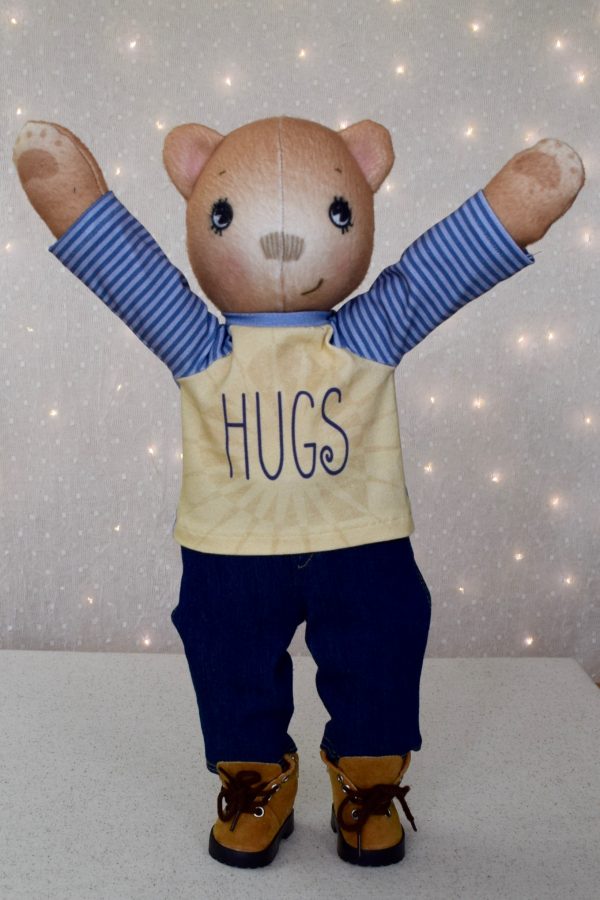
Shown to the right the hug bear is wearing jeans and t-shirt using a pattern by Elaine Heigl Designs for Simplicity, style# 8576. This sewing pattern set has classic play clothes for both girl and boy 18″ dolls. To fit a 17″ animal or doll, adjust hemlengths and waist elastic measurement.

Check out this site for free patterns that fit both PLUSHLIFE® and 18″ dolls.
Inspire and be inspired: social media, blog, gallery
These little fellows are ment to be a “canvas” for creative exploration and interactions. Please join in!
Let it grow! It’s an experience!
The PLUSH LIFE® is for the young and the forever young. The experience is designed to be a way to reach out to friends and family in a playful way. Have fun with this!
Sew fun!
